Last updated: June 12, 2026


Disclosure: As an Amazon Associate we earn from qualifying purchases. This page contains affiliate links and we may earn a commission at no extra cost to you.
Sour espresso is the single most common complaint we hear from new home baristas, and the most misdiagnosed. That sharp, lemony, mouth-puckering hit at the front of a shot is not “bright acidity” or a bad bean — nine times out of ten it is under-extraction. The water passed through your coffee too quickly or too coolly to dissolve the sugars and caramels that balance coffee’s natural acids, so you tasted the acids on their own. The fix is rarely a new machine; it is tightening the variables you already control.
This guide walks through every cause of sour espresso in the order you should check them: grind size, dose and ratio, water temperature, puck preparation, and shot time. Along the way we recommend the distribution and tamping tools that make those fixes repeatable, because inconsistent prep is the silent saboteur behind shots that are sour one morning and fine the next. If your problem is the opposite end of the spectrum, our companion guide on why espresso turns bitter covers over-extraction in the same systematic way.
Work through the sections below one variable at a time, changing only one thing per shot, and you will land on sweet, balanced espresso within a bag of beans.
Quick answer: Our top pick in 2026 is the Breville Distribution Duo (54mm, Walnut) — our #1 rated choice. See the full ranked comparison, alternatives and buying advice below.
Quick Comparison
| Product | Price | Rating |
|---|---|---|
| Breville Distribution Duo (54mm, Walnut) | $109.95 | 4.9/5 |
| MEION Distributor & Tamper (53.3mm) | $29.99 | 4.8/5 |
| MATOW 53mm Distributor and Tamper | $35.99 | 4.7/5 |
| 58mm Coffee Distributor / Leveler | $17.99 | 4.7/5 |
| Normcore V4 Spring-Loaded Tamper (53.3mm) | $42.29 | 4.7/5 |
| Reoszeank 51mm Accessories Kit | $26.99 | 4.6/5 |
Why Trust This Guide
See also: How to Descale a Breville Espresso Machine Step by Step • How to Make Iced Coffee at Home (Not Bitter, Not Watery)
Our troubleshooting advice comes from daily shot-pulling on home machines, where we isolate one variable at a time — grind, dose, temperature, prep — and taste the result side by side. Gear recommendations are based on how tools perform in that routine over weeks of use, not on manufacturer claims, and we only suggest equipment that addresses a cause of sourness we can actually demonstrate in the cup.
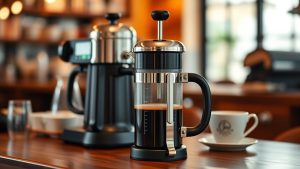
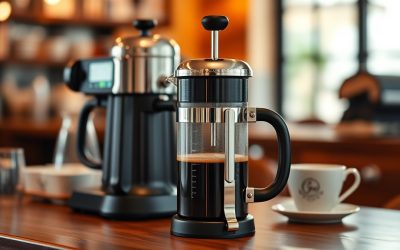
Breville Distribution Duo (54mm, Walnut)
Breville’s own Distribution Duo pairs a leveling head and a tamper sized precisely for the 54mm portafilters on the Barista Express, Pro, Touch, and Bambino lines. That first-party fit matters: a distributor that matches the basket wall snugly leaves no untouched ring of grounds at the edge, which is exactly where uneven extraction — and sourness — starts.
The walnut-and-steel build feels like a permanent bench tool rather than an accessory, and the depth-adjustable distribution head lets you dial it to your dose and lock it in. It is the premium pick for Breville owners who want their prep identical every single morning. The price is the only argument against it; the tools below deliver much of the function for less.
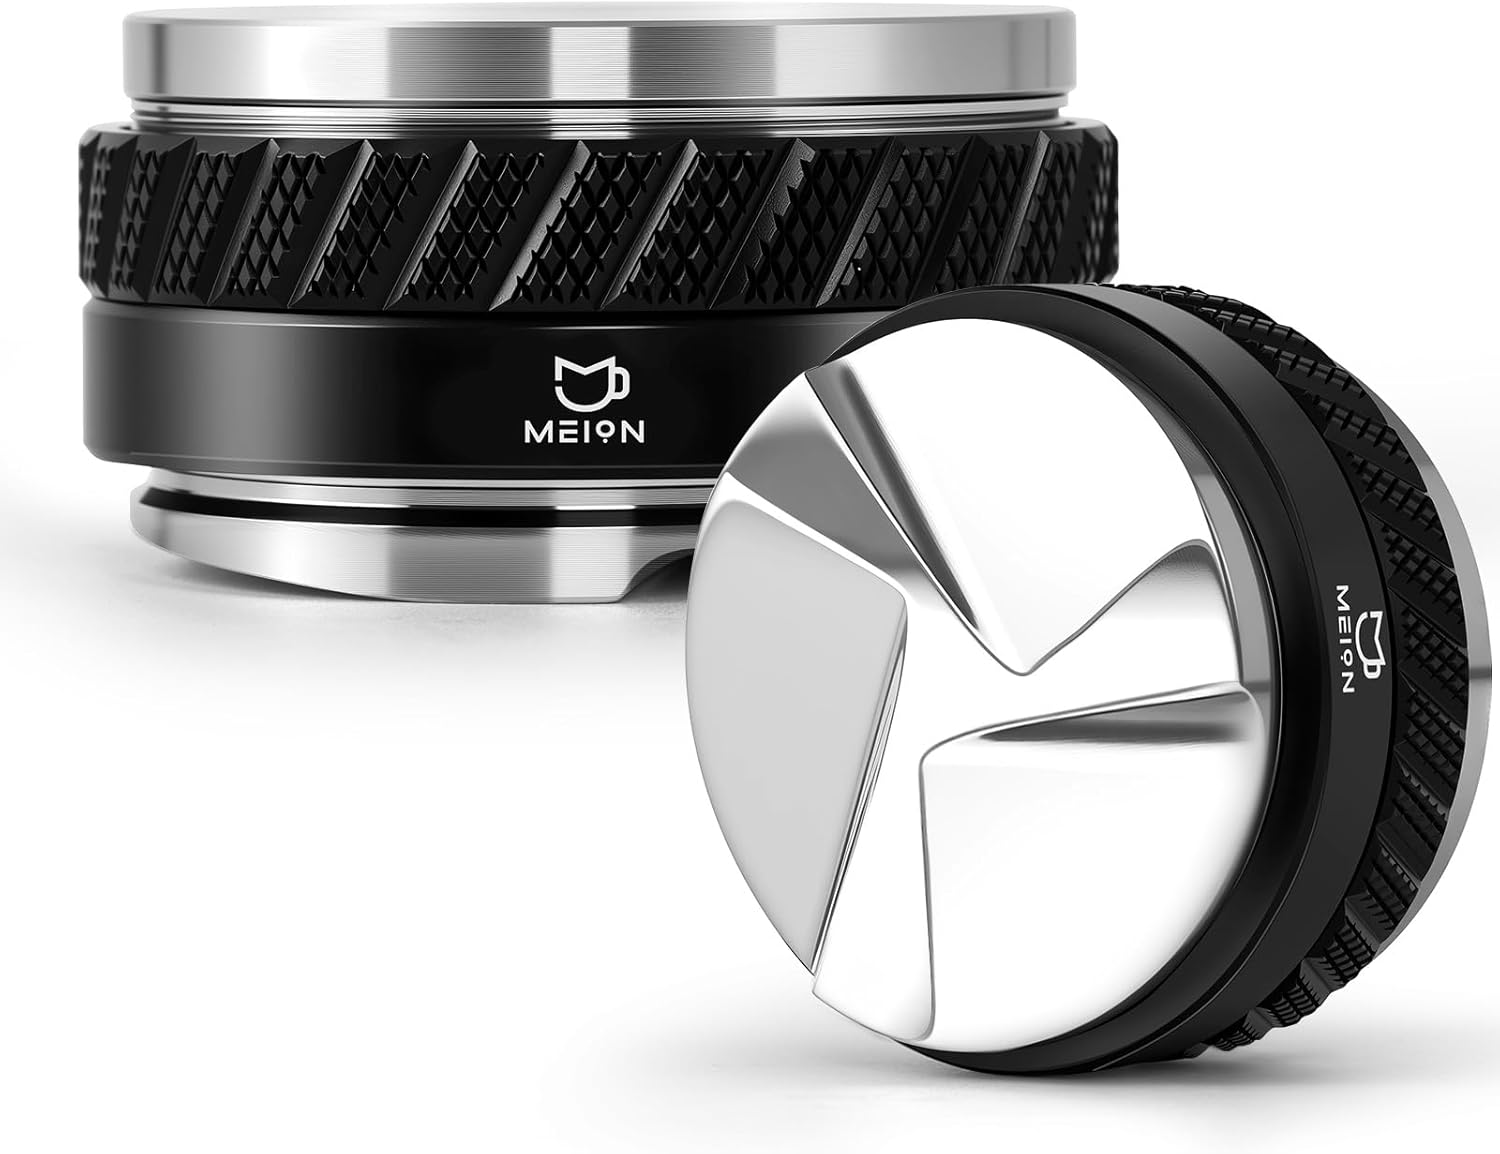
MEION Distributor & Tamper (53.3mm)
The MEION double-sided tool gives Breville 54mm-basket owners a distributor on one face and a flat tamper on the other, at a price that makes consistent puck prep an impulse upgrade. The 53.3mm sizing is the correct fit for Breville’s baskets, which measure slightly under their nominal size — a detail cheap “54mm” tools get wrong, leaving a sour-prone gap at the basket wall.
Flipping one tool instead of juggling two speeds up the morning routine, and the adjustable distribution depth covers doses from single-basket to heaped double. The tradeoff of any combo tool is that the tamper face cannot be spring-calibrated, so pressure consistency stays on you. For most Breville households this is the value sweet spot.
MATOW 53mm Distributor and Tamper
MATOW’s dual-head leveler is the long-running budget favorite for Breville-compatible machines, with a weighty feel and slanted distribution fins that rake the grounds level before they compress. Used after a quick stir, it erases the dose mounds and hidden voids that make water punch through one side of the puck and under-extract the rest.
It is the tool we suggest first to anyone whose shots vary wildly from day to day, because it removes hand technique from the equation at minimal cost. Machine fit is the thing to verify — 53mm-class tools suit Breville-style baskets, not commercial 58mm portafilters. Pair it with the ratio discipline in our espresso ratio recipe guide and most sourness simply disappears.
58mm Coffee Distributor / Leveler
Owners of prosumer machines with commercial 58mm portafilters get the same fix from this straightforward palm distributor. Set the depth so the fins just graze a leveled dose, give it two or three rotations, and the bed comes out flat and evenly dense — ready for a tamp that seals rather than tilts.
At this price it is an easy addition for anyone moving up from pressurized baskets to unpressurized ones, which is precisely the transition where sour, gushing shots tend to appear. It will not fix clumps deep in the basket (that is a job for a WDT tool), but as the final smoothing step before the tamp it earns its slot in the routine.
Normcore V4 Spring-Loaded Tamper (53.3mm)
Tamp pressure is the most overrated variable in espresso, but tamp consistency is not — and the Normcore V4 solves consistency mechanically. Its internal spring clicks at a calibrated force every time, so the puck density that worked yesterday is the puck density you get today. The self-leveling collar also keeps the tamp dead flat, eliminating the tilted pucks that channel water down one side and leave the shot thin and sharp.
For Breville 54mm-basket machines, this is the single most foolproof tamping upgrade we know. It costs more than a basic tamper and the spring mechanism wants an occasional wipe-down, but it converts the most technique-sensitive step of prep into a non-decision.
Reoszeank 51mm Accessories Kit
Compact machines with 51mm portafilters — many De’Longhi and similar entry-level models — are often left out of the puck-prep conversation, and their owners suffer the most sour shots as a result. This kit packages the essentials in their size: a distributor-tamper, a WDT stirring tool for breaking up clumps, and supporting accessories.
The WDT tool is the quiet hero here; entry-level grinders clump heavily, and needling the grounds before leveling fixes more sourness on these machines than any other step. The kit pieces are simpler in finish than the premium tools above, but as a complete prep system for small-portafilter machines it punches far above its price. Owners of a Breville Barista Express should choose the 53.3mm tools instead — size fit is everything.
What to Look For in Tools to Fix Sour Espresso
Gear cannot replace good technique, but the right tools make good technique automatic. Prioritize these attributes:
- Exact basket fit — measure your basket’s true inner diameter; Breville “54mm” baskets want 53.3mm tools, and a loose fit leaves an under-extracted ring at the wall.
- Adjustable distribution depth — fins should graze the surface of your specific dose; a fixed-depth tool tuned to the wrong dose either does nothing or compacts unevenly.
- Calibrated tamping — spring-loaded tampers remove pressure guesswork; self-leveling collars remove tilt, the bigger sin.
- WDT capability — fine needles that reach the bottom of the basket cure clumping, the leading cause of channeling and the sourness it brings.
- Weight and build — heavier tools settle flatter with less force and survive daily counter life; bargain aluminum can deform and lose fit.
- Speed of routine — combo tools and stands keep prep under thirty seconds; a routine you actually follow beats a perfect one you skip.
Tips for Getting the Most Out of Your Sour-Shot Fixes
Change one variable per shot, and start with grind. Sourness almost always means water moved through the coffee too fast, so tighten the grind one step and pull again, keeping dose and time identical. Watch the shot clock: a standard double should run somewhere near 25–30 seconds from pump start to a roughly 1:2 ratio of dry dose to liquid out. Shots that finish in 15 seconds will be sour no matter how good the beans are. A proper measuring vessel helps here — our espresso shot glass guide explains weighing and eyeballing yields.
If grind and ratio are right and the sourness persists, look at temperature and machine behavior. Light roasts want hotter brew water; let the machine heat fully and flush the group before the first shot of the morning. A pressure readout takes more guesswork out of diagnosis — our espresso pressure gauge guide shows what healthy brew pressure looks like across a shot.
Finally, fix the grounds before they ever meet water. Grind quality sets the ceiling for everything downstream — if your grinder produces boulders and dust together, no distributor can fully rescue the shot, and our grind size guide shows how to dial any grinder toward the espresso range. Then make WDT, leveling, and a flat tamp a fixed ritual. Prep consistency is what turns a lucky sweet shot into your everyday baseline.
Frequently Asked Questions
Does sour espresso mean my beans are bad?
Rarely. Sourness is usually under-extraction — too coarse a grind, too short a shot, or water that is too cool. That said, very fresh beans (under five days off roast) and very light roasts are naturally harder to extract and will taste sour on machines and recipes that handle darker roasts fine.
What is the fastest single fix for a sour shot?
Grind finer. One step finer slows the shot, increases contact time, and extracts the sugars that balance acidity. If the shot is already running 30+ seconds and still tastes sour, look at brew temperature and puck prep instead of going finer still.
Sour and bitter at the same time — how is that possible?
That combination almost always means channeling: part of the puck over-extracts (bitter) while the rest under-extracts (sour). The cure is preparation — WDT to break clumps, distribution to level, and a flat calibrated tamp — not a grind change.
Do distribution tools actually change taste, or are they gadgets?
They change consistency, which changes taste. A distributor will not sweeten a fundamentally under-extracted recipe, but it eliminates the shot-to-shot variance that makes dialing in impossible. Once your prep is identical every time, grind and ratio adjustments finally behave predictably.
Ready to decide? Our #1 pick for 2026 is the Breville Distribution Duo (54mm, Walnut).
Live price & availability on Amazon.