Last updated: June 12, 2026


Quick Comparison
| Product | Brand | Price | Rating |
|---|---|---|---|
| Coffee Art | — | $12.13 | 4.7/5 |
| Get Started With Latte Art: Easy Latte Art Designs And … | — | $8.99 | 3.6/5 |
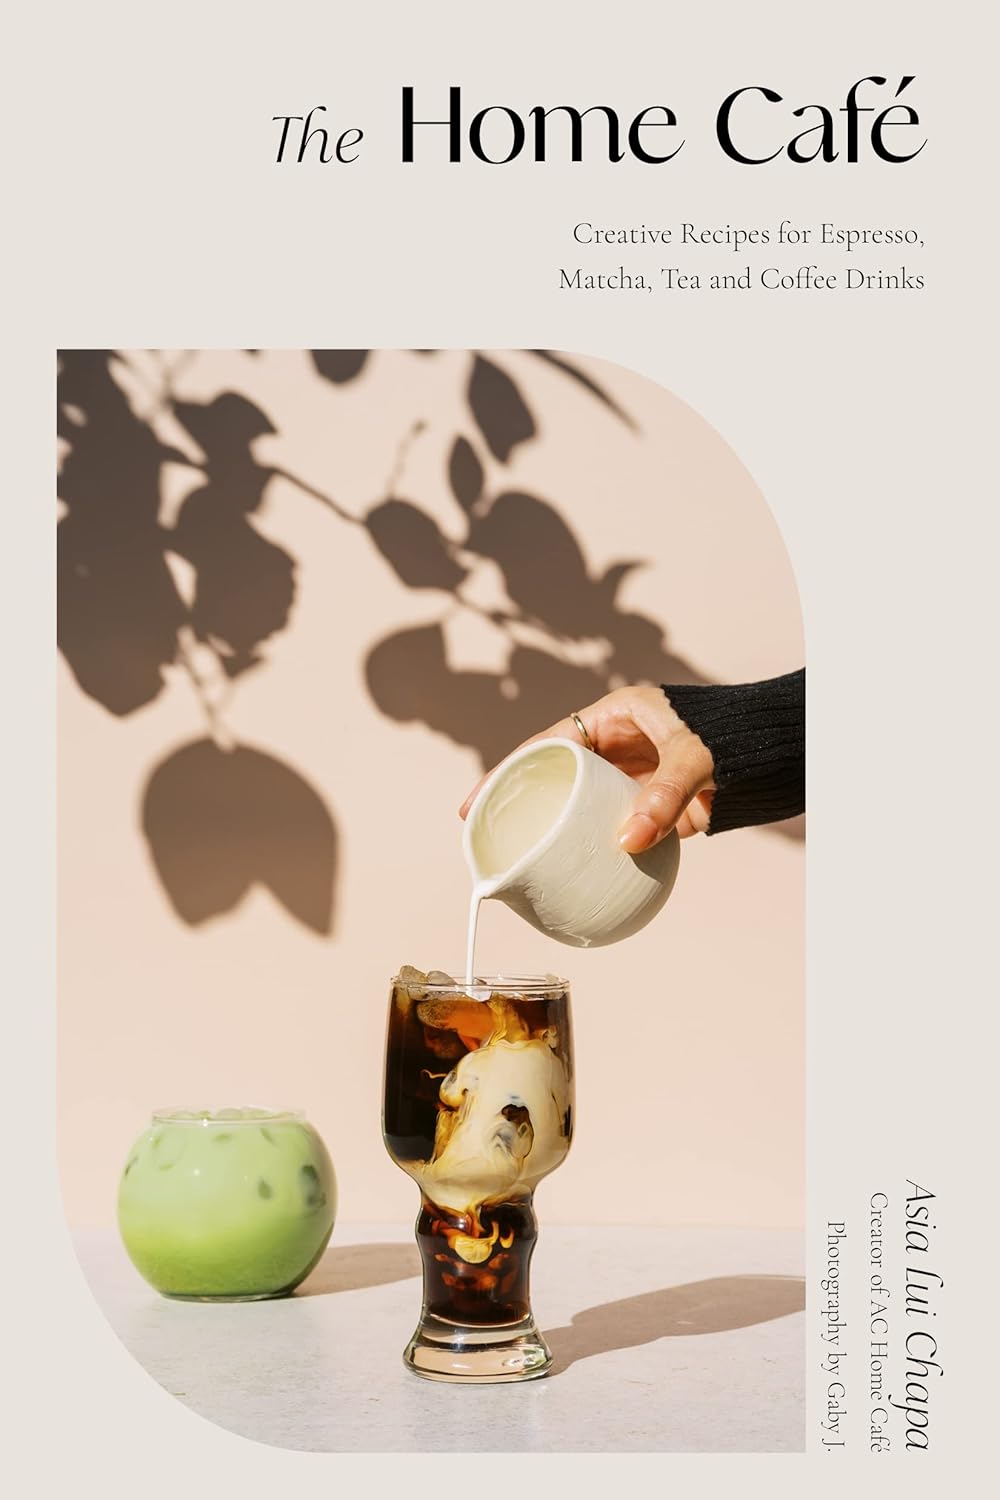
| The Home Café: Creative Recipes for Espresso | — | $19.22 | 4.7/5 |
Introduction
See also: How to Descale a Breville Espresso Machine Step by Step • How to Make Iced Coffee at Home (Not Bitter, Not Watery)
Latte art looks intimidating from the outside, but the fundamentals are learnable by any home barista willing to practice. The real key is not artistic talent — it’s consistent espresso and properly textured milk. Get those two right, and patterns follow naturally.
What to Look For
- Espresso Foundation: Latte art only works on a correctly pulled shot with a rich, intact crema. Weak or over-extracted shots break down under poured milk and give you no canvas to work with.
- Microfoam Quality: The milk should be silky and paint-like — not bubbly or stiff. Stretch cold milk briefly at the start of steaming, then submerge and spin until it reaches 140–150°F (60–65°C).
- Pour Angle and Flow Control: Tilt the cup toward you before pouring, start high to mix milk into the espresso, then drop the pitcher close to the surface to begin placing your pattern. Speed and pitcher angle control the design.
Top Picks
Breville Barista Express Impress (Espresso Machine)
For beginners, an integrated grinder-espresso machine combination eliminates one variable by handling grinding and tamping consistently. The Barista Express Impress produces reliable shots with good crema that serve as an excellent latte art canvas right out of the box.
Rattleware 12 oz Latte Art Pitcher
A precision spout pitcher makes the difference between a messy pour and a clean heart on your first attempt. Rattleware’s 12 oz pitcher is widely recommended by barista trainers as the go-to starter pitcher for its consistent pour control and durable build.
Acaia Lunar Espresso Scale
Consistency is the engine of latte art progress. A precision scale lets you hit the same dose and yield every shot, removing the guesswork that creates variable crema and milk ratios. The Acaia Lunar is slim enough to sit on the drip tray during extraction.
Mastering Milk Steaming for Latte Art
Latte art begins long before the pour, with properly steamed milk. The goal is microfoam: milk with a glossy, paint-like texture made of tiny, uniform bubbles, not the stiff, dry foam of a traditional cappuccino. Start with cold milk in a clean pitcher, filled no more than about a third full to leave room for expansion. Cold whole milk is the most forgiving for beginners because its fat and protein create stable, velvety foam, though many alternative milks can work with practice.
Position the steam wand tip just below the surface to introduce air during the first few seconds; you should hear a gentle hissing or paper-tearing sound, not loud screeching. Once the milk has expanded slightly, submerge the tip a bit deeper and angle the pitcher to create a smooth whirlpool that folds the foam into the milk. Stop steaming when the pitcher feels hot to the touch, around 140 to 150 degrees Fahrenheit, then tap and swirl the pitcher to break up large bubbles and keep the texture silky.
Pouring Your First Latte Art Designs
With good microfoam and a fresh shot of espresso topped with crema, you are ready to pour. Begin with the pitcher held high and pour a thin stream into the center to mix the milk and espresso without disturbing the surface. As the cup fills, lower the pitcher close to the surface and bring the spout near the crema; this is when the white foam starts to float and form a shape. The classic first design is a heart: pour steadily to build a round white base, then cut straight up through it with a thin stream to draw out the point.
The rosetta, a leaf pattern, comes next: lower the pitcher, wiggle it gently side to side as you draw back across the cup, then cut through to finish the stem. Keep your pours smooth and your milk freshly textured, since foam that sits too long separates and loses its shine. Latte art takes repetition, so do not be discouraged by early blobs; with consistent milk and steady hands, recognizable designs come quickly.
Common Beginner Mistakes to Avoid
Most early latte art struggles trace back to a handful of fixable mistakes. Overheating the milk past about 150 degrees Fahrenheit scorches it and collapses the foam, so stop steaming when the pitcher is hot to the touch. Incorporating too much air creates stiff, bubbly foam that will not pour smoothly, while too little leaves the milk flat with no foam to draw a design. Pouring from too high keeps the foam from floating to the surface, so lower the pitcher close to the cup once it is partly full. Letting steamed milk sit also causes it to separate, so pour promptly while it is glossy. Finally, espresso without good crema gives the foam nothing to contrast against. Fix these one at a time and your designs will sharpen quickly.
Frequently Asked Questions
What kind of milk is best for latte art?
Cold whole milk is the easiest for beginners because its fat and protein produce stable, velvety microfoam. Many plant-based milks, especially barista-formulated versions, also work, though they can be trickier to steam consistently.
What is microfoam?
Microfoam is milk steamed to a glossy, paint-like texture made of very fine, uniform bubbles. It is essential for latte art because it pours smoothly and lets the white foam float and form patterns on the espresso.
How hot should steamed milk be?
Aim for roughly 140 to 150 degrees Fahrenheit, the point where the pitcher feels hot but not scalding to the touch. Overheating milk past this range scorches it and breaks down the foam, ruining the texture.
Why can’t I get my latte art to show up?
Common causes are foam that is too thick or too thin, pouring from too high, or milk that has separated from sitting. Pour close to the surface once the cup is partly full, and use freshly textured milk swirled smooth.
Do I need an espresso machine for latte art?
Latte art relies on espresso with crema and properly steamed microfoam, so a machine with a steam wand is ideal. Practicing milk steaming and pouring technique matters more than having an expensive machine.
Final Thoughts
Latte art is 80% milk texture and 20% pour technique. Focus your practice sessions on producing consistently silky microfoam before worrying about patterns. Once your milk is right, hearts come quickly, and rosettas follow with deliberate wrist motion practice.