


TL;DR: A stovetop percolator coffee maker brews bold, full-bodied coffee with zero electricity and near-zero waste. Whether you’re after a camping-ready brewer or just want rich old-school coffee on your home stove, percolators deliver a cup that drip machines rarely match — once you dial in the heat and timing.
Best Stovetop Percolator Coffee Maker: Rich, Bold Coffee the Classic Way
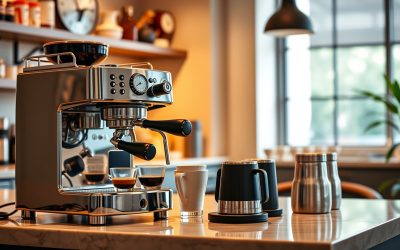
Modern coffee culture is obsessed with precision — bloom time, pour rate, TDS readings. But plenty of serious coffee drinkers keep a stovetop percolator on the shelf, because nothing else produces that particular deep, toasty cup with almost no equipment overhead. A stovetop percolator coffee maker requires no paper filters, no electricity, and no pods. Just water, ground coffee, and heat.
If you’re new to percolators or returning after years with an espresso machine, here’s what you need to know to choose the right one and brew it properly.
- Quick Comparison
- Top Stovetop Percolator Coffee Makers
- How a Stovetop Percolator Actually Works
- Stainless vs. Aluminum: Which Material Is Better?
- Grind Size and Coffee Ratio for Percolators
- Percolator vs. Other Stovetop Brewers
- Spec Comparison: Stovetop Percolator Types
- Cleaning and Maintenance
- FAQ: Stovetop Percolator Coffee Makers
- About the Author
Quick Comparison
| Product | Brand | Price | Rating |
|---|---|---|---|
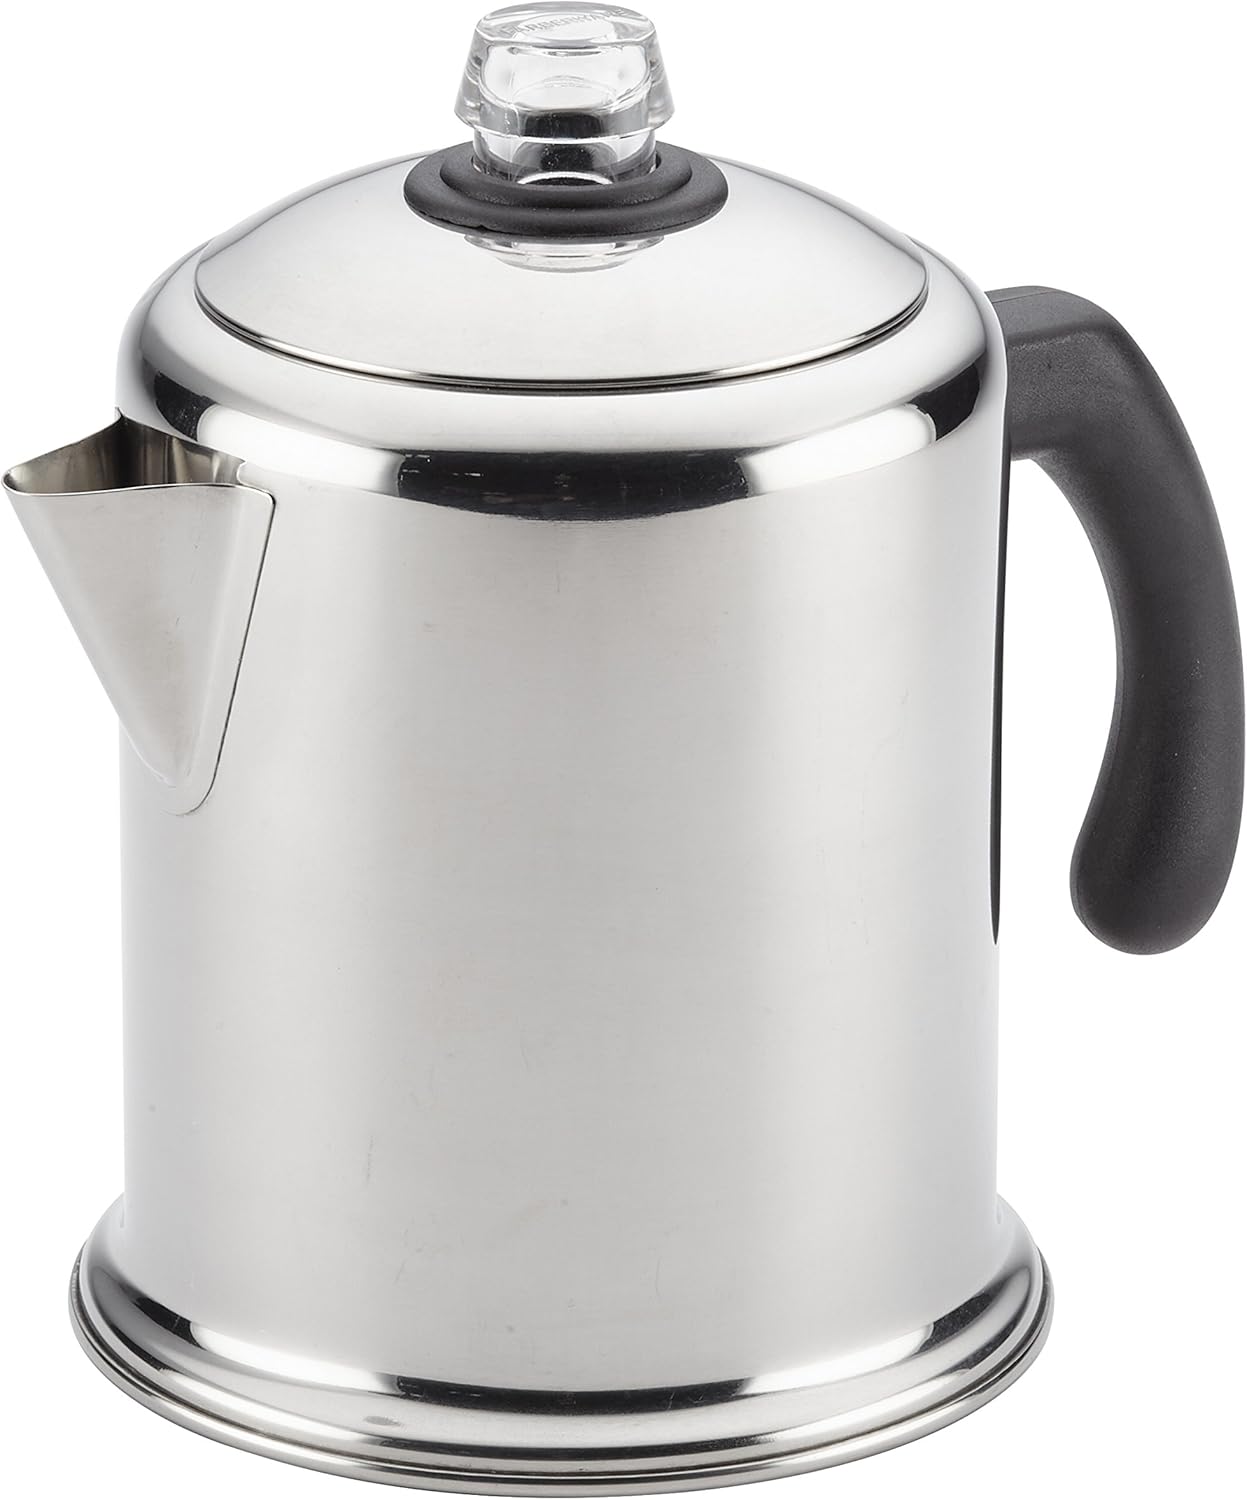
| Farberware Classic Stainless Steel Yosemite 12-Cup Coff… | Farberware | $34.99 | 4.5/5 |
| Farberware Classic Stainless Steel Yosemite Percolator … | Farberware | $33.08 | 4.5/5 |
| GROSCHE Milano Moka Pot – Stovetop Coffee Maker and Per… | GROSCHE | $44.99 | 4.4/5 |
| GROSCHE Milano Moka Pot | Stovetop Espresso Percolator … | GROSCHE | $44.99 | 4.4/5 |
| Presto 02811 Stainless Steel Electric Coffee Percolator… | PRESTO | $76.82 | 4.5/5 |
Top Stovetop Percolator Coffee Makers
See also: How to Choose an Espresso Tamper: Complete Buying Guide (2026) • Best Espresso Machines for Lattes and Cappuccinos
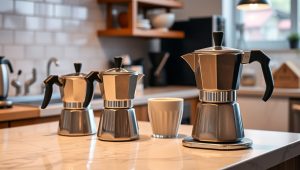
How a Stovetop Percolator Actually Works
A percolator uses a simple thermodynamic loop. Water in the bottom chamber heats until it boils, rises through a vertical tube, and sprays down over a basket of ground coffee. The brewed coffee drips back into the lower chamber, gradually increasing in strength as the cycle repeats. The process runs continuously until you remove the pot from heat.
That continuous recirculation is both the strength and the challenge of percolator brewing. Done right — medium heat, 7–10 minutes, removed promptly — you get a deeply flavored, robust cup. Left too long on high heat, the coffee re-brews past its peak and develops bitter, over-extracted notes. Heat control is everything.
Unlike a moka pot, which forces pressurized steam through tightly packed grounds, a percolator cycles near-boiling water through a looser basket. The result is less concentrated than moka but more robust than standard drip. If you already use a moka pot and want to compare brewing styles, see our guide to induction stovetop moka pots for how pressure-based extraction differs.
Stainless vs. Aluminum: Which Material Is Better?
Most stovetop percolators come in stainless steel or aluminum. For home use, stainless is almost always the better choice. It’s non-reactive, won’t impart metallic flavors to acidic coffee, is dishwasher safe, and holds up to decades of use without corrosion. High-quality stainless percolators also work on induction cooktops — aluminum does not.
Aluminum percolators are lighter and cheaper, which makes them popular for camping and backpacking. They heat faster — a real advantage over an open fire — but over time can produce a slight metallic undertone in the cup, particularly with medium-light roasts. For your home kitchen, spend the modest premium on stainless.
Capacity is the other key variable. Solo brewers often do fine with a 4–6 cup percolator, while households brewing for two or more will want 8–12 cups. Keep in mind that “cups” in percolator specs typically means 5–6 oz servings, not full 12 oz mugs.
Grind Size and Coffee Ratio for Percolators
Percolators work best with a medium-coarse grind — coarser than standard drip, finer than French press. Too fine and grounds pass through the basket perforations into your coffee. Too coarse and the brew is weak and watery. If you’re grinding at home, set your burr grinder one or two steps coarser than you’d use for a drip machine.
Use roughly 1 tablespoon of coffee per 5–6 oz of water as a starting point. Percolators tend to favor medium to dark roasts — lighter roasts can taste thin or sour because percolator temperatures (near boiling) are higher than optimal for delicate light roasts. If you prefer lighter coffee, brewing temperature management is critical: keep heat low and pull the pot early.
For the best results at home, a consistent grinder makes a significant difference. Pair your percolator with a quality airtight coffee canister to keep your beans fresh between brews.
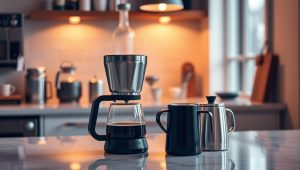
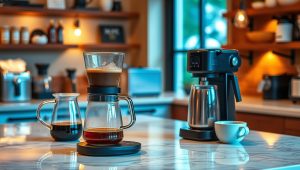
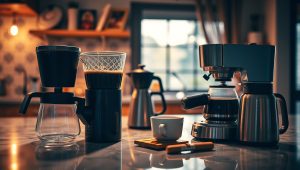
Percolator vs. Other Stovetop Brewers
Home brewers often debate percolators against moka pots and French presses. Each method has a distinct profile. Moka pots produce a concentrated, espresso-adjacent shot with intense body and crema-like texture. French press delivers oils and sediment for a rich, unfiltered brew. Percolators sit in between — stronger than drip, less intense than moka, cleaner than French press.
For camping and off-grid brewing, percolators are often the most practical choice. No paper filters to pack, works on any heat source including campfires and propane stoves, and mechanically simple with nothing to break. A stainless percolator can outlast virtually any electric coffee maker you own.
If you’re building a full home coffee setup, complement your stovetop brewer with the right serving vessels — our roundup of porcelain coffee mug sets covers the best options for serving percolator-brewed coffee at home.
Spec Comparison: Stovetop Percolator Types
| Feature | Aluminum Percolator | Stainless Steel Percolator | Glass-Top Stainless |
|---|---|---|---|
| Induction Compatible | No | Yes (most) | Yes (most) |
| Weight | Light | Medium | Medium |
| Flavor Neutrality | Fair | Excellent | Excellent |
| Durability | Good | Excellent | Good (glass lid fragile) |
| Dishwasher Safe | Usually | Yes | Top-rack only |
| Brew Visibility | No | No | Yes |
| Best Use | Camping | Home daily use | Home / show kitchen |
| Typical Price | $15–$35 | $30–$70 | $40–$80 |
Cleaning and Maintenance
After each use, disassemble the percolator completely — separate the basket, tube, and lid — and rinse with hot water while everything is still warm. Coffee oils set quickly and are much harder to remove once cooled. A bottle brush cleans the tube; a small basket brush or regular dish brush handles the basket perforations.
For deep cleaning, fill the pot halfway with a solution of equal parts white vinegar and water, run it through a full percolate cycle, then rinse thoroughly with two full cycles of clean water. Do this every 4–6 weeks with regular use. Avoid abrasive scrubbers on stainless interiors — they scratch the surface and create sites for residue buildup over time.
A well-maintained stainless percolator will serve you for years without degradation in brew quality. Store it disassembled to prevent moisture trapping and the musty odor that can develop in sealed coffee equipment.
FAQ: Stovetop Percolator Coffee Makers
How long should you percolate coffee on the stovetop?
7 to 10 minutes from the moment the first percolation cycle begins — visible as rhythmic bubbling through a glass knob or the sound of cycling. Start timing once you see consistent cycling, not when you first put the pot on the burner. Remove from heat promptly when done and let it rest 1–2 minutes before pouring. Brewing beyond 10 minutes on active heat significantly increases bitterness from over-extraction and thermal degradation of flavor compounds.
Is percolator coffee stronger than drip coffee?
Yes, in most cases. A properly brewed percolator produces a higher-TDS (total dissolved solids) cup than standard drip because the water cycles repeatedly through the grounds. The strength is tunable by adjusting brew time and coffee quantity. Most people find percolator coffee noticeably bolder and more full-bodied than automatic drip, though less concentrated than moka pot output.
Can you use a stovetop percolator on an induction cooktop?
Stainless steel percolators with a magnetic base are induction compatible. Most quality stainless models specify induction compatibility in their product details — look for this explicitly, as not all stainless alloys are magnetic. Aluminum percolators do not work on induction cooktops. If you have induction and want to verify compatibility, hold a refrigerator magnet to the bottom of the pot — if it sticks firmly, the pot will work on induction.
What grind size is best for a stovetop percolator?
Medium-coarse is the target — roughly the texture of coarse sea salt. This is coarser than standard drip grind and slightly coarser than what you’d use for a Chemex. If you’re getting fine sediment in your cup, your grind is too fine for your basket’s perforation size. If your coffee tastes thin and weak, go slightly finer or increase the coffee-to-water ratio before adjusting grind.
Does a percolator ruin coffee by over-boiling it?
This is a common criticism with a basis in misuse, not design. Water in a percolator does reach near-boiling temperatures, which is above the 195–205°F (90–96°C) sweet spot for most extraction methods. However, the cycle time is short, and with proper heat management — medium heat, 7–10 minutes, removed promptly — over-extraction is avoidable. The bitterness people associate with percolator coffee usually comes from leaving it on heat too long or using too-fine a grind, not from the method itself.