

TL;DR: The right latte art milk pitcher is 12 oz for single drinks, 20 oz for batch steaming. Look for a sharp rolled spout, stainless steel, and a comfortable handle angle. Cheap pitchers with wide spouts and thick lips kill pour control — the pitcher shape matters as much as your technique.
Latte Art Milk Pitcher Buyer’s Guide: Best Picks for Home Baristas
Choosing the right latte art milk pitcher is one of the most underrated decisions a home barista makes. Your espresso can be dialed in perfectly, your milk stretched to glossy microfoam — and a poorly designed pitcher will still break the pour at the last moment. This guide explains what separates a great latte art pitcher from a frustrating one, and which sizes and styles suit different setups.
- Quick Comparison
- Top Latte Art Pitchers Compared
- Pitcher Specs at a Glance
- Spout Design: The Most Important Factor
- Pitcher Size: How to Choose
- Material and Build Quality
- Handle Angle and Grip Ergonomics
- Cleaning and Maintenance
- Pitcher Recommendations by Skill Level
- Frequently Asked Questions
- About the Author
Quick Comparison
| Product | Brand | Price | Rating |
|---|---|---|---|
| De’Longhi DLSC060 Milk Frothing Jug | — | $19.95 | 4.8/5 |
| Milk Frothing Pitcher 350ml/600ml/900ml/1500ml (12oz/20… | Adorever | $6.97 | 4.7/5 |
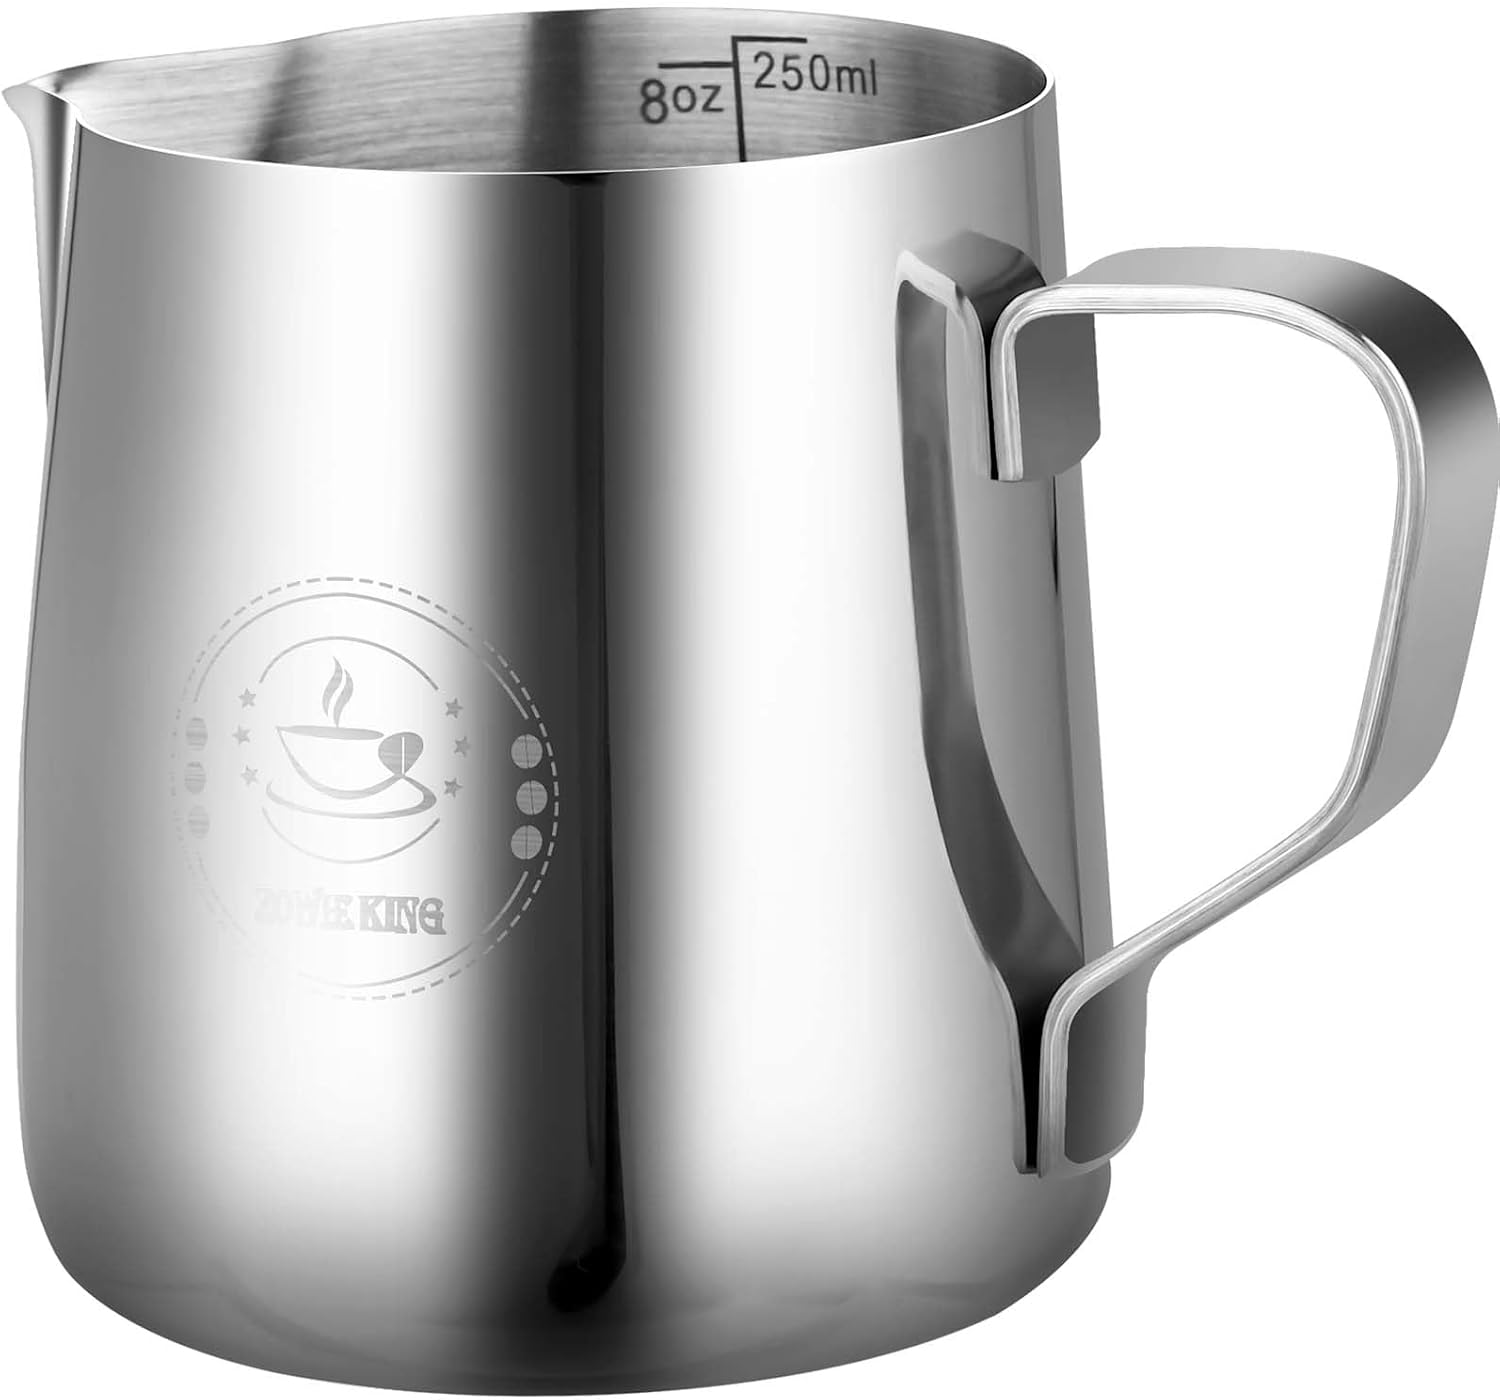
| 8Oz Mini Milk Frothing Pitcher – 250ml Single Serving S… | ZOWIEKING | $8.99 | 4.7/5 |
| HOFASON Stainless Steel Milk Frothing Pitcher Cappuccin… | HOFASON | $6.99 | 4.7/5 |
| Amrules Milk Frothing Pitcher | Amrules | $6.99 | 4.8/5 |
Top Latte Art Pitchers Compared
See also: Best Milk Frothers: Top Picks Reviewed and Compared (2026) • How to Choose a Milk Frother: Complete Buying Guide (2026)
Pitcher Specs at a Glance
| Spec | 12 oz (350ml) | 20 oz (600ml) | 8 oz (240ml) |
|---|---|---|---|
| Best for | Single lattes, cappuccinos | Batch steaming, flat whites | Cortados, espresso macchiatos |
| Spout type | Sharp rolled tip | Wide rolled tip | Precision tip |
| Fill level | Milk to bottom of spout | Milk to seam line | Just below spout |
| Steam wand depth | 1–1.5 cm from bottom | 1.5–2 cm from bottom | 0.5–1 cm from bottom |
| Handle angle | Straight or slight offset | Straight | Offset preferred |
| Material | 18/10 stainless steel | 18/10 stainless steel | 18/10 stainless steel |
Spout Design: The Most Important Factor
The spout is where latte art lives or dies. A sharp, rolled tip with a narrow channel lets you place foam precisely on the espresso surface. Wide, flat spouts produce a thick stream that dumps foam before you can control pattern formation. When evaluating a pitcher, look at the spout from directly above — you should see a narrow V shape, not a broad curved lip.
Precision tip pitchers (often called “latte art pitchers” explicitly) have the most defined pour control for patterns like rosettas and tulips. Standard rolled-tip pitchers work for hearts and basic tulips but limit complexity. If you’re just starting out and working on milk texture fundamentals, a standard rolled-tip 12 oz pitcher is the right entry point.
Pitcher Size: How to Choose
Size determines how much air you can introduce and how easy temperature control is. Under-filled pitchers (less than 1/3 full) superheat quickly — your window for stretching disappears before you’ve introduced enough air. Over-filled pitchers don’t allow the milk to circulate and texturize properly.
12 oz is the standard home barista size for 6–8 oz drinks. Fill to just below the spout base (~150–180ml of cold milk), steam to 60–65°C, and you’ll have enough microfoam for a standard latte or cappuccino. 20 oz works if you’re regularly making 12+ oz drinks or steaming for two people at once. 8 oz is specialized — useful for practicing pour control on smaller drinks where waste matters.
Material and Build Quality
18/10 stainless steel is the only material worth buying. It’s food-safe, non-reactive, easy to clean, and durable enough to survive years of daily use. Aluminum pitchers conduct heat too fast (you lose tactile temperature feedback) and can react with acidic milk proteins over time. Budget plastic options aren’t suitable for steam wand use at all.
Wall thickness matters for heat retention — thin-walled pitchers cool faster between the steam wand session and the pour, which can cause microfoam to separate. Premium pitchers use rolled steel construction with consistent wall thickness. Handle attachment should be welded, not riveted — rivet heads trap milk residue and degrade hygiene over time.
Handle Angle and Grip Ergonomics
Handle angle affects how naturally you hold the pitcher during both steaming and pouring. A straight handle (perpendicular to the pitcher body) suits most standard pours. An offset or angled handle gives better wrist control during the tilt-and-pour motion that latte art requires — you can keep your pouring arm relaxed and low without rotating your wrist awkwardly.
Try to simulate the pouring grip before buying — the handle should allow your index finger to wrap comfortably at the front for fine motor control. Wide-grip handles feel stable but reduce fingertip sensitivity during the pattern work phase. This pairs with technique: check our espresso machine guide for machines with steam wands that suit latte art practice.
Cleaning and Maintenance
Milk residue inside a pitcher develops off-flavors within hours if not cleaned. Rinse immediately after each use with cold water (hot water cooks milk proteins onto the steel), then wash with warm soapy water. Never leave milk sitting in a pitcher, especially in a warm kitchen.
Scale buildup from hard water is less common in pitchers than in steam wands, but periodic descaling of your machine is essential to maintain steam pressure and wand performance. Check our water filter guide for TDS management — low TDS water improves milk texture and extends equipment life. Also keep your steam wand purged and wiped after every use; residue baked onto the wand tip reduces steam velocity and ruins your stretch.
Pitcher Recommendations by Skill Level
Beginner: A basic 12 oz stainless pitcher with a rolled spout. Focus on milk texture before worrying about art. Any well-reviewed mid-range pitcher works here — you need consistent steel construction and a comfortable handle, not a specialist tip. See our under-$500 machine roundup for compatible setups.
Intermediate: Move to a precision-tip 12 oz pitcher. At this stage you’re working on heart and tulip pours — the narrower stream control the tip provides is immediately noticeable. Practice surface contact pours (touching the spout tip to the espresso surface before releasing foam) for cleaner patterns.
Advanced: Invest in a dedicated art pitcher with a very sharp precision tip and offset handle. At this level you’re chasing rosettas and phoenixes — every millimeter of pour control counts. Some baristas keep two pitchers: a 20 oz for steaming volume and decanting into a 12 oz precision pitcher for the pour itself.
Frequently Asked Questions
What size milk pitcher is best for latte art?
A 12 oz (350ml) pitcher is the best all-round choice for latte art at home. It gives enough milk volume to texturize properly for a single latte while remaining small enough for precise pouring control. Use a 20 oz only if you regularly make large drinks or steam for multiple people at once.
Does pitcher material affect latte art?
Yes — 18/10 stainless steel is the standard because it gives clear tactile temperature feedback as the milk heats. You can feel the pitcher getting warm through your palm, which helps you stop steaming at 60–65°C without a thermometer. Aluminum and thin-gauge steel conduct heat differently and make temperature judgment harder.
What spout shape is best for latte art?
A sharp, narrow rolled tip gives the most control for pattern work. Wide spouts dump too much foam at once, preventing the fine motor control needed for rosettas and tulips. Look for a V-shaped channel when viewing the spout from above — the narrower it is, the more precisely you can place the foam.
Can I use any milk pitcher for latte art?
Technically yes, but spout design makes a real difference once you have your milk texture dialed in. A wide-spout pitcher will produce hearts but struggles with rosettas. If you’ve mastered milk stretching and your pours still look messy, the pitcher spout is likely the bottleneck — not your technique.
How do I clean a milk pitcher properly?
Rinse immediately with cold water after every use to prevent protein adhesion, then wash with warm soapy water. Never soak a pitcher in hot water immediately after use — heat denatures milk proteins and bonds them to the steel. A weekly soak in espresso machine cleaning solution removes any stubborn milk stone buildup from the interior.