Last updated: June 12, 2026


Disclosure: As an Amazon Associate we earn from qualifying purchases. This page contains affiliate links and we may earn a commission at no extra cost to you.
A real cappuccino is a structured drink: one part espresso, one part steamed milk, one part airy-but-fine foam, served around 5–6 ounces in a warm, wide-bowled cup. It is not a latte with extra froth scooped on top — the foam in a great cappuccino is poured, not spooned, and it integrates with the milk in a continuous gradient from liquid to cloud. The drink rewards precision the way few others do: every variable you tighten, from milk temperature to pour height, shows up immediately in the cup. Once you taste a properly built version, café cappuccinos become a benchmark you can routinely beat at home, for pennies per drink.
Here is the full method. Warm a 6 oz cup. Pull a single or double shot — fresh beans, ground just before brewing, ideally from a quality grinder like those in our espresso grinder roundup. While the shot runs, steam about 4 oz of cold milk: hold the wand tip at the surface for four to six seconds of steady hissing to build foam volume, then sink the tip and whirlpool the milk until the jug is hot to the touch. Tap, swirl, and pour from a low height, letting the foam release naturally as the cup fills so the drink finishes with a deep white cap and a clean crema ring.
Your machine handles pressure and heat; the pitcher is where your hands do the work. These six jugs suit cappuccino duty at home, followed by the technique details that turn good attempts into great drinks.
Quick answer: Our top pick in 2026 is the 12oz/350ml Stainless Steaming Pitcher — our #1 rated choice. See the full ranked comparison, alternatives and buying advice below.
Quick Comparison
| Product | Price | Rating |
|---|---|---|
| 12oz/350ml Stainless Steaming Pitcher | $6.59 | 4.8/5 |
| 20oz/600ml Milk Frother Cup | $9.99 | 4.8/5 |
| HOOMIL Barista Pitcher (12/20/32oz) | $6.97 | 4.8/5 |
| De’Longhi DLSC060 12 oz Frothing Jug | $19.95 | 4.8/5 |
| 32oz/900ml Espresso Steaming Pitcher | $18.99 | 4.7/5 |
| Amrules 12oz Pitcher with Clear Scale | $6.99 | 4.7/5 |
Why Trust This Guide
See also: Best Milk Frothers: Top Picks Reviewed and Compared (2026) • How to Choose a Milk Frother: Complete Buying Guide (2026)
The method here is standard specialty-barista technique, the same sequence taught in café training programs, adapted for home machines. Gear notes are drawn from published capacities and materials, with prices and ratings taken directly from current product data — never estimated, never embellished.
Recommended Gear for Home Cappuccinos
12oz/350ml Stainless Steaming Pitcher
For a single cappuccino, a 12 oz jug is the correct tool: 4 oz of cold milk sits at the ideal depth for the wand, and the modest volume means the milk hits temperature in well under a minute, keeping the espresso fresh while you work. Small jugs also make the foam-building stretch phase easy to hear and control.
The only limitation is capacity — one proper cappuccino per steam. At this price, that is less a flaw than a reason to own two sizes.
20oz/600ml Milk Frother Cup
The 600ml jug earns its place on two-cappuccino mornings. Steam once, pour twice: both drinks get identical foam, and you spend half the time at the wand. The taller milk column also rolls in a more forgiving, visible whirlpool, which many beginners find easier to learn on.
Resist the temptation to steam a single drink’s milk in it — 4 oz of milk in a 20 oz jug sits too shallow for the wand to work properly. This is the partner jug, not the only jug.
HOOMIL Barista Pitcher (12/20/32oz)
HOOMIL’s three-size lineup lets you build a matched set as your routine grows: 12 oz for solo drinks, 20 oz for pairs, 32 oz for weekend guests. Keeping one brand means the spout behaves identically across sizes, so the pour you practice on Tuesday transfers to Saturday’s crowd.
The stainless build is simple, durable, and easy to read milk against. As a value-per-jug proposition for cappuccino households, it is hard to argue with.
De’Longhi DLSC060 12 oz Frothing Jug
De’Longhi’s own 12 oz jug is the brand-match pick for the millions of kitchens running a De’Longhi machine. The DLSC060’s spout and handle geometry are tuned to sit comfortably under the brand’s steam wands, and the build quality steps up noticeably from generic jugs.
You pay roughly triple the generic price for the badge and finish. If your machine is the centerpiece of your kitchen and you like equipment that matches, the premium buys real satisfaction; if not, the cheaper 12 oz options steam milk just as hot.
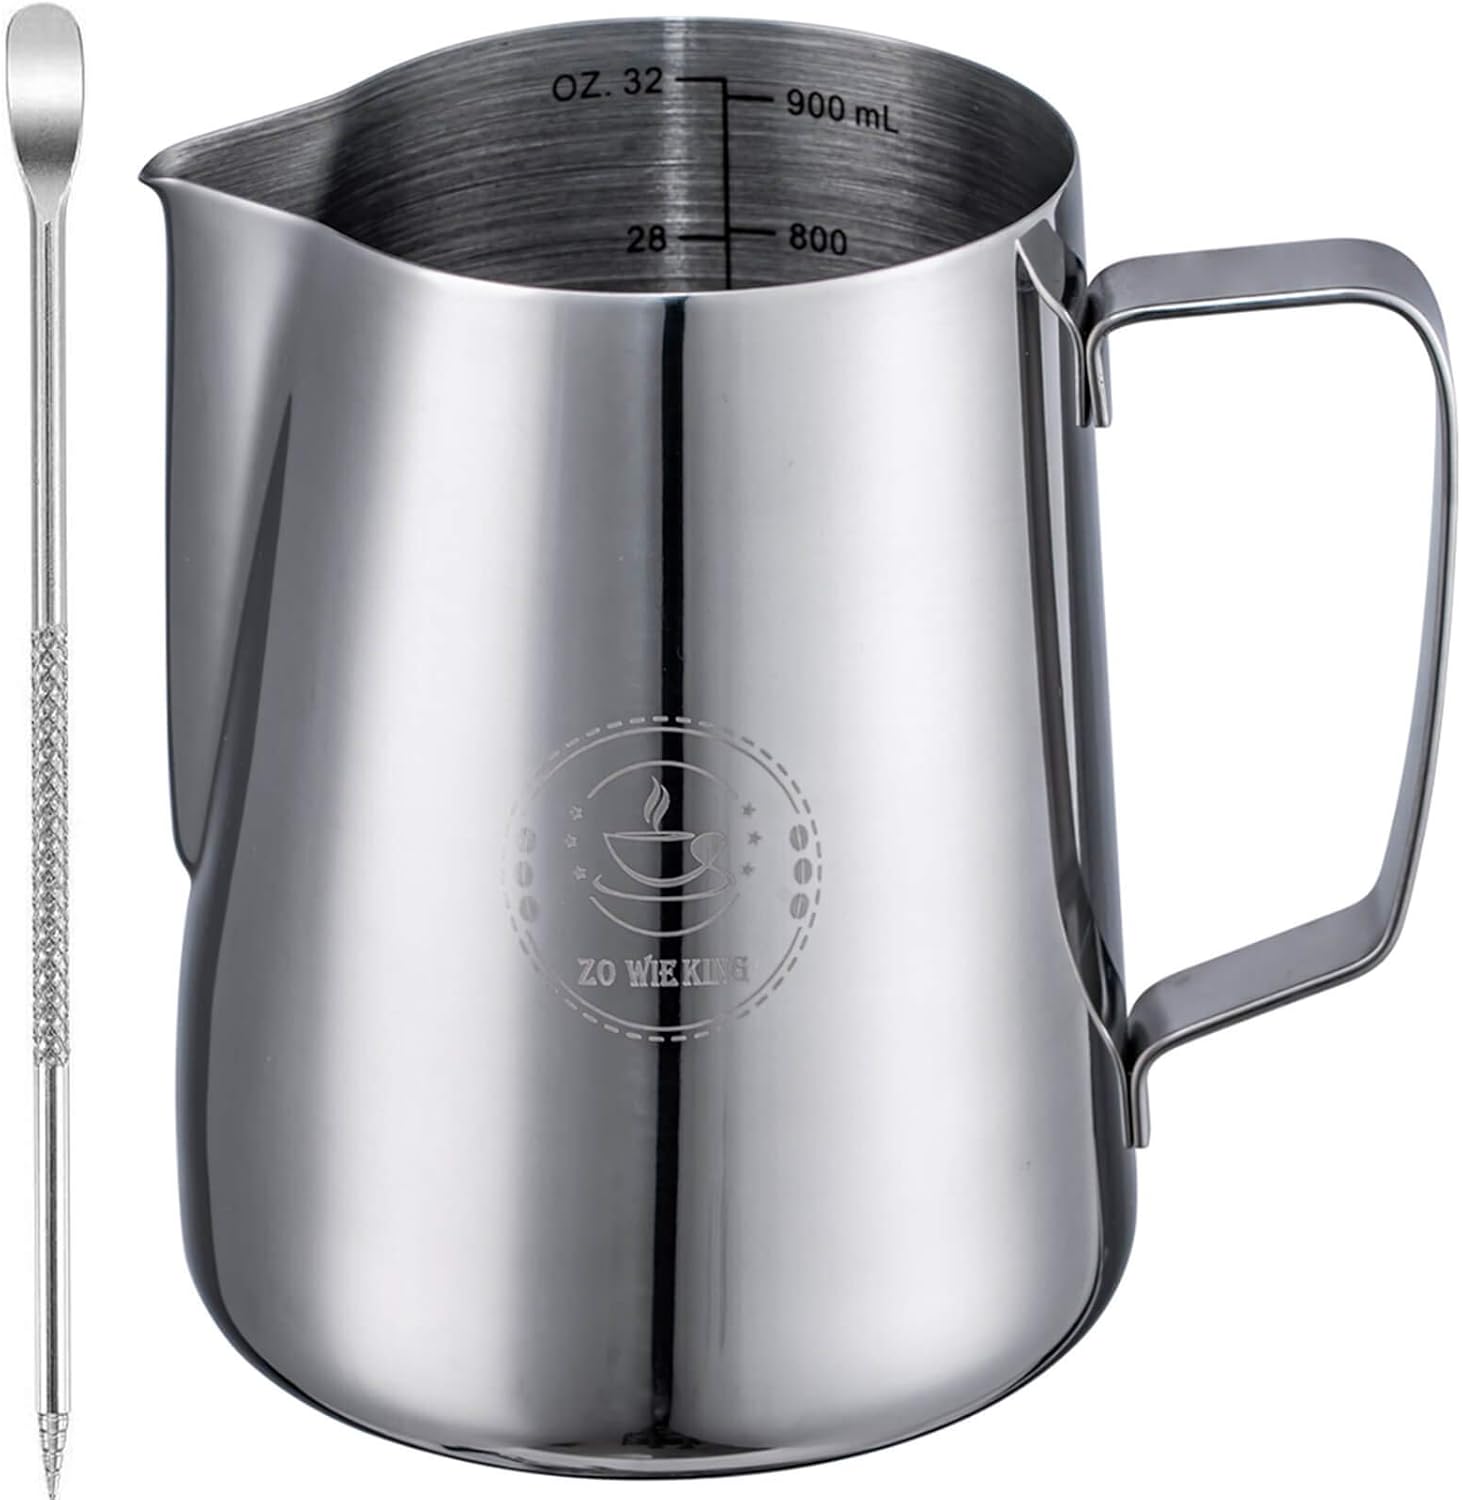
32oz/900ml Espresso Steaming Pitcher
The 900ml jug is the entertainer’s tool: three to four cappuccinos’ worth of milk in a single steam. When family visits, serially steaming four small jugs while shots die on the counter is the fastest way to ruin a morning — batch steaming solves it.
Big jugs demand more steam power, so they pair best with machines that have strong boilers. If your machine is entry-level, expect longer steam times, and check our home espresso machine guide when upgrade season arrives.
Amrules 12oz Pitcher with Clear Scale
The Amrules 12 oz adds interior measurement markings to the classic solo-cappuccino format, which removes the most common beginner variable: inconsistent milk dosing. Same milk in, same foam out — repeatability is how technique actually improves.
The 304 stainless body shrugs off daily washing. Between the marked and unmarked 12 oz jugs in this list, beginners should take the markings; the discipline they enforce is worth more than the dollar saved.
What to Look For in Cappuccino Equipment
Cappuccino-making rewards a small, deliberate kit. These are the priorities, in order.
- Pitcher size matched to servings — 12 oz for one drink, 20 oz for two; foam quality starts with correct milk depth under the wand.
- A defined pour spout — cappuccino foam is poured, not spooned, and a sharp spout controls how the foam releases into the cup.
- Volume markings — consistent milk dosing is the difference between a repeatable recipe and a daily gamble.
- Food-grade stainless steel — 304 steel survives years of steam, milk, and washing without corrosion or off-flavors.
- A wide 5–6 oz cup — the bowl shape supports the foam cap and presents the drink properly; preheating it is part of the recipe.
- Fresh whole milk (or barista plant milk) — foam structure comes from proteins; fresh, cold milk foams better than anything that has been sitting open all week.
Tips for Getting the Most Out of Your Cappuccino Routine
Foam first, heat second — in your attention, that is. The cappuccino’s defining feature is built only in the first quarter of the steam: those four to six seconds of surface hissing set the foam volume, and everything after just heats and polishes. If your cappuccinos come out flat, lengthen the hiss; if they come out bubbly like a bath, your hiss is too aggressive — lower the tip until the sound is a steady paper-tear, not a sputter. The wand’s condition matters too, so keep the tip clean and consider our tip replacement guide if holes are partially blocked.
Pour with confidence, not caution. After tapping out the big bubbles and swirling to a gloss, start the pour from a few centimeters up and keep a steady, moderate flow; as the cup passes two-thirds full, bring the jug close and tilt further to release the foam in a thick white flood. Slow, timid pouring lets the foam stall in the pitcher and arrive in clumps.
And serve it immediately, in a warm cup — a cappuccino is at its peak for about two minutes before the foam begins to coarsen and the temperature gradient that makes the first sip so good starts to even out. The wide ceramic cups and double-wall glasses we have reviewed hold the cap beautifully, but only if the drink goes from spout to table without a detour. Build the habit of clearing your serving spot before you steam, not after, and every cappuccino you make will be drunk at its best.
Frequently Asked Questions
What is the correct cappuccino ratio?
The classic formula is equal thirds: one part espresso, one part steamed milk, one part milk foam, in a 5–6 oz cup. In practice the milk and foam form a continuous gradient rather than separate layers — but if your finished drink has roughly a finger-and-a-half of foam depth, you are in traditional territory.
Can I make a cappuccino without an espresso machine?
A respectable approximation, yes. Brew concentrated coffee with a moka pot or AeroPress, then foam hot milk with a handheld frother, French press plunge, or electric frother. The foam will be slightly coarser than steam-wand microfoam, but the drink structure — strong base, milk, deep foam cap — translates well.
Why is my cappuccino foam stiff and dry instead of creamy?
Too much air, too little integration. Foam built with a long, aggressive stretch and no whirlpool phase turns to meringue-like stiffness. Shorten the hiss phase slightly, then spend the rest of the steam with the tip buried, rolling the milk so foam and liquid knit together. The goal is wet, glossy foam that pours.
What milk makes the best cappuccino foam?
Cold, fresh whole milk is the most forgiving and the most flavorful — its fat carries sweetness and its proteins build stable foam. Skim foams stiffer but tastes thin; oat barista blends are the best plant option for structure. Whatever you choose, start it refrigerator-cold to give yourself maximum steaming time.
Ready to decide? Our #1 pick for 2026 is the 12oz/350ml Stainless Steaming Pitcher.
Live price & availability on Amazon.