

TL;DR: A coffee thermometer and steam pitcher combo is the fastest way to stop burning milk and start hitting the 140–155°F sweet spot for silky microfoam every time. The thermometer removes guesswork; the pitcher’s shape and spout determine pour control and latte art capability. Together they’re the two most impactful upgrades for anyone steaming milk at home.
Coffee Thermometer and Steam Pitcher: The Pair That Fixes Your Milk Every Time
Most home baristas burn their milk — and they don’t even realize it. Scalded milk tastes flat, loses its natural sweetness, and produces foam that collapses in seconds rather than holding for latte art. The fix isn’t a better espresso machine. It’s a proper steam pitcher and a thermometer that tells you exactly when to stop.
This guide covers everything you need to know about choosing and using both tools together — including the temperature targets that produce genuinely good steamed milk, and what to look for in a pitcher that actually allows latte art pours.
- Quick Comparison
- Top Coffee Thermometers and Steam Pitchers
- The Temperature Window That Makes or Breaks Steamed Milk
- Choosing the Right Thermometer for Milk Steaming
- Steam Pitcher Size and Spout Shape: What Actually Matters
- How to Steam Milk: The Correct Technique
- Spec Comparison Table
- Milk Alternatives: What Changes
- FAQ: Coffee Thermometer and Steam Pitcher
- About the Author
Quick Comparison
| Product | Brand | Price | Rating |
|---|---|---|---|
| Espresso Steaming Pitchers Stainless Steel Espresso Mil… | — | $11.09 | — |
| 4 Pcs Espresso Accessories Kit with 12oz Milk Frothing … | Acellegic | $16.99 | — |
| Milk Frothing Pitcher 350ml/600ml/900ml/1500ml (12oz/20… | Adorever | $6.97 | 4.7/5 |
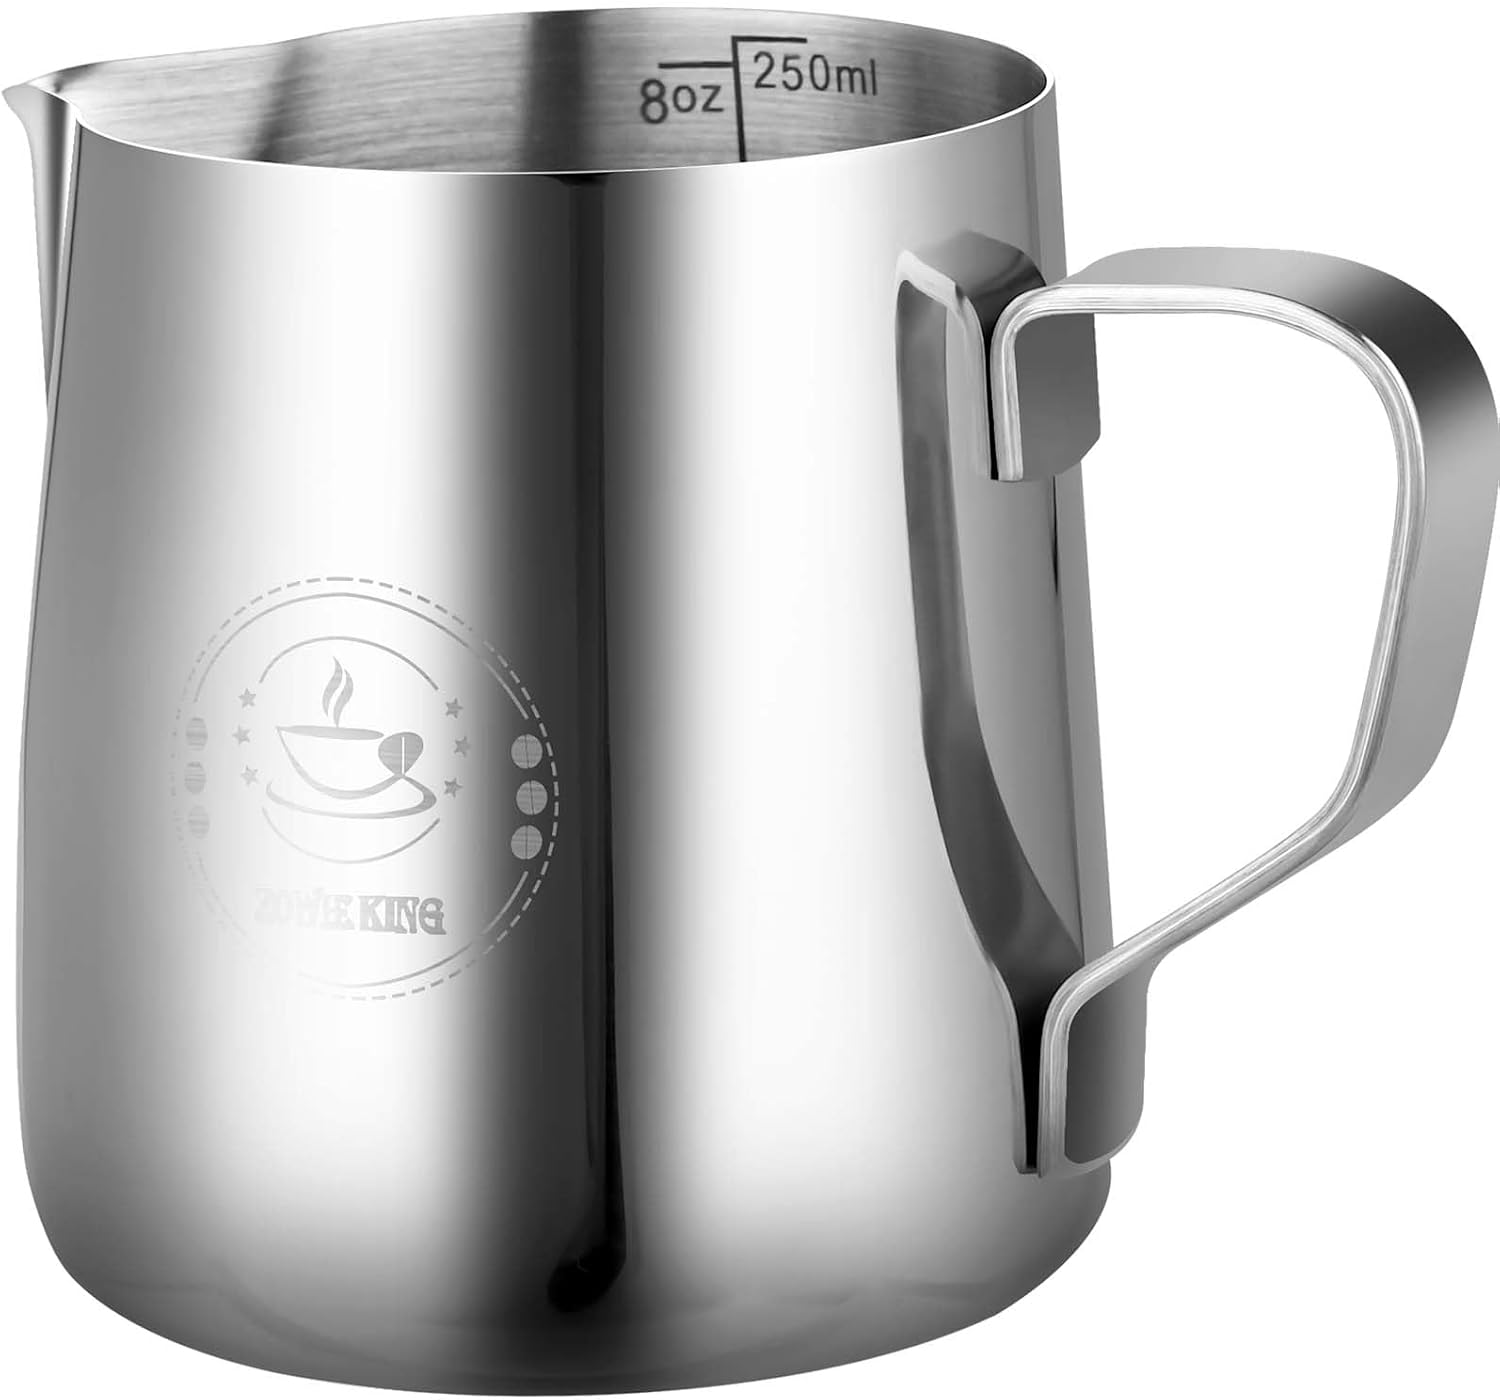
| 8Oz Mini Milk Frothing Pitcher – 250ml Single Serving S… | ZOWIEKING | $8.99 | 4.7/5 |
| KT THERMO Instand Read 2-Inch Dial Thermometer | KTTHERMO | $10.99 | 4.6/5 |
Top Coffee Thermometers and Steam Pitchers
See also: Best Pour Over Coffee Makers: Top Picks Reviewed and Compared (2026) • Best Drip Coffee Makers: Top Picks Reviewed and Compared (2026)
The Temperature Window That Makes or Breaks Steamed Milk
Milk proteins begin to denature and sweetness peaks in the 130–155°F (55–68°C) range. Below 130°F the milk tastes thin and cold. Above 160°F (71°C) proteins break down fully, the natural sweetness disappears, and you get the flat, papery taste of scalded milk — what most café patrons ordering “extra hot” are actually getting, though they’ve adapted to it.
The professional target is 140–150°F (60–65°C). This range produces maximum sweetness from the milk’s natural lactose, creates stable microfoam that holds its texture for 60–90 seconds, and integrates smoothly with espresso. A thermometer isn’t optional if you want to hit this window consistently — wrist-feel and guessing produce erratic results even for experienced baristas.
For a complete milk steaming workflow, pair your thermometer and pitcher with our guide to espresso milk steam thermometer selection and use for deeper coverage of probe placement and technique.
Choosing the Right Thermometer for Milk Steaming
Clip-on dial thermometers are the classic choice — they attach to the pitcher rim, leave your hands free, and give a continuous read throughout the steam cycle. Look for a dial face large enough to read at a glance (2-inch minimum), a stem long enough to reach the center of a 12 oz pitcher, and a temperature range that covers at least 32–220°F. The zone marking (usually a color band at 140–160°F) makes hitting your target faster than reading numbers mid-steam.
Digital instant-read thermometers are more accurate but require removing the probe from the milk to read, which interrupts your steaming technique. They’re excellent for checking final temperature after steaming and useful for calibrating your touch-based intuition, but awkward as primary steaming tools.
Smart/Bluetooth thermometers with app alerts are emerging in the home barista market. They provide hands-free monitoring with an alert when target temperature is reached — useful for beginners still developing feel. The added cost is worth it if you steam multiple drinks per session and want to focus entirely on technique rather than watching the dial.
Steam Pitcher Size and Spout Shape: What Actually Matters
Pitcher size determines how much milk you can properly steam in one pour — and under-filling or over-filling a pitcher both produce bad results. A 12 oz (350ml) pitcher is ideal for single drinks: one cappuccino or one small latte. Fill it to just below the spout junction — about 4–5 oz of cold milk expands to roughly double during steaming, filling the pitcher to the right level for a controlled pour.
A 20 oz (600ml) pitcher handles two drinks or one large latte with 8+ oz of milk. Anything larger is difficult to control for latte art pours. The textured milk pitcher for latte art guide covers spout geometry in detail — sharp, narrow spouts give precision for tulips and rosettas; wider rounded spouts are more forgiving for beginners learning the basics.
Material is straightforward: food-grade stainless steel (18/8 or 304 grade) is the standard. It conducts heat predictably, doesn’t react with milk, and gives tactile temperature feedback through the pitcher wall — a key skill-building aid as you learn to steam by feel alongside your thermometer.
How to Steam Milk: The Correct Technique
Start with cold milk — 35–40°F from the refrigerator. Cold milk gives you more time in the steaming window before hitting your target temperature. Purge the steam wand for one second to clear condensate. Submerge the wand tip just below the milk surface and turn on full steam. For the first 3–5 seconds, keep the tip near the surface to incorporate air and build foam volume — you’ll hear a soft hissing “paper tearing” sound, not loud sputtering.
Once you have the foam volume you want, submerge the wand deeper and angle the pitcher to create a spinning vortex in the milk. This integrates the foam into the liquid and textures the milk into microfoam. Continue until your thermometer reads 140°F, then pull the pitcher off steam immediately. Tap the pitcher on the counter to pop any large surface bubbles, then swirl vigorously to integrate.
Spec Comparison Table
| Feature | Entry Level | Mid Range | Pro Grade |
|---|---|---|---|
| Thermometer Type | Clip-on dial | Clip-on dial (zone marked) | Smart / Bluetooth alert |
| Accuracy | ±5°F | ±2–3°F | ±1°F |
| Pitcher Size | 12 oz | 12 oz + 20 oz set | Multiple sizes 8–32 oz |
| Spout Type | Rounded | Tapered | Sharp latte art spout |
| Material | Stainless (thin wall) | 18/8 stainless | 304 stainless, thick wall |
| Latte Art Capable | Basic | Intermediate | Advanced patterns |
| Typical Price (pair) | $15–$30 | $35–$60 | $70–$120 |
Milk Alternatives: What Changes
Oat milk, almond milk, and soy all steam differently from whole dairy. Oat milk is currently the most barista-friendly alternative — barista editions steam to a texture close to whole milk and hold microfoam well. Steam oat milk at a slightly lower target: 130–140°F rather than 140–150°F, as it scorches more easily and loses sweetness faster than dairy.
Almond milk is challenging — it produces larger, less stable bubbles and separates quickly. If you use almond milk regularly, a thermometer becomes even more important because the temperature window for acceptable texture is narrower. Soy milk steams reasonably well but can curdle if introduced directly to hot espresso — always add milk to espresso, not the other way around.
FAQ: Coffee Thermometer and Steam Pitcher
What temperature should steamed milk be for a latte or cappuccino?
The professional target for steamed milk is 140–150°F (60–65°C) for lattes and flat whites, and 130–140°F (55–60°C) for cappuccinos where you want maximum foam volume with a slightly cooler serving temperature. Above 160°F (71°C) milk is considered scalded — the proteins have broken down, sweetness is lost, and the foam is unstable. Below 130°F (54°C) the milk will feel cold to most drinkers and won’t integrate well with espresso.
What size steam pitcher should I use for a single latte?
A 12 oz (350ml) pitcher is ideal for a single 8–10 oz latte. Fill it with approximately 4–5 oz of cold milk, which will expand to fill the pitcher correctly after steaming. Too little milk in a large pitcher means the steam wand won’t submerge properly, producing uneven texture. Too much milk in a small pitcher overflows during steaming. The 12 oz size is the most versatile for home use — it works for cappuccinos, cortados, and lattes with a single shot.
Why does my steamed milk taste flat or burnt?
Flat, papery, or slightly bitter steamed milk almost always means overheating. Milk loses its natural sweetness rapidly above 155°F (68°C) as proteins denature and lactose chemistry changes. If your milk tastes flat even when fresh, check your thermometer calibration — test it in boiling water (should read 212°F / 100°C at sea level) and in ice water (should read 32°F / 0°C). A miscalibrated thermometer is a common cause of consistently overheated milk.
Can I use any thermometer for steaming milk, or do I need a specific type?
Any food-safe thermometer with a range covering 32–220°F (0–105°C) will work technically, but a clip-on dial thermometer with a zone marking at 140–160°F is the most practical for milk steaming. It clips to the pitcher, reads continuously, and lets you monitor temperature without breaking your steaming technique. Digital instant-read probes require removing the probe to read, which interrupts the steam cycle. Infrared thermometers read surface temperature only and aren’t accurate for liquid inside a pitcher.
How do I clean a milk steaming pitcher properly?
Rinse the pitcher immediately after every use with cold water — cold prevents milk proteins from bonding to the stainless steel. Milk residue left to dry even for 10–15 minutes becomes much harder to remove and develops off-flavors that contaminate the next batch. For a full wash, warm water and a drop of dish soap with a bottle brush is sufficient. Most stainless steel pitchers are dishwasher safe on the top rack, though repeated dishwasher cycling dulls the interior finish over time. Once your steaming technique is dialed in, upgrading to a stand-mounted automatic milk frother lets you texture milk hands-free while pulling your shot simultaneously.