
The AeroPress has one of the more unlikely origin stories in specialty coffee: designed by Alan Adler — the same engineer behind the Aerobie flying disc — it debuted in 2005 and was largely dismissed as a novelty. Two decades later, it has its own world championship, a dedicated community of recipe developers, and a reputation among traveling coffee professionals as the single most practical coffee maker you can pack in a carry-on. The core product has remained essentially unchanged — and a thriving accessories market has grown up around it. Here’s what’s worth buying.
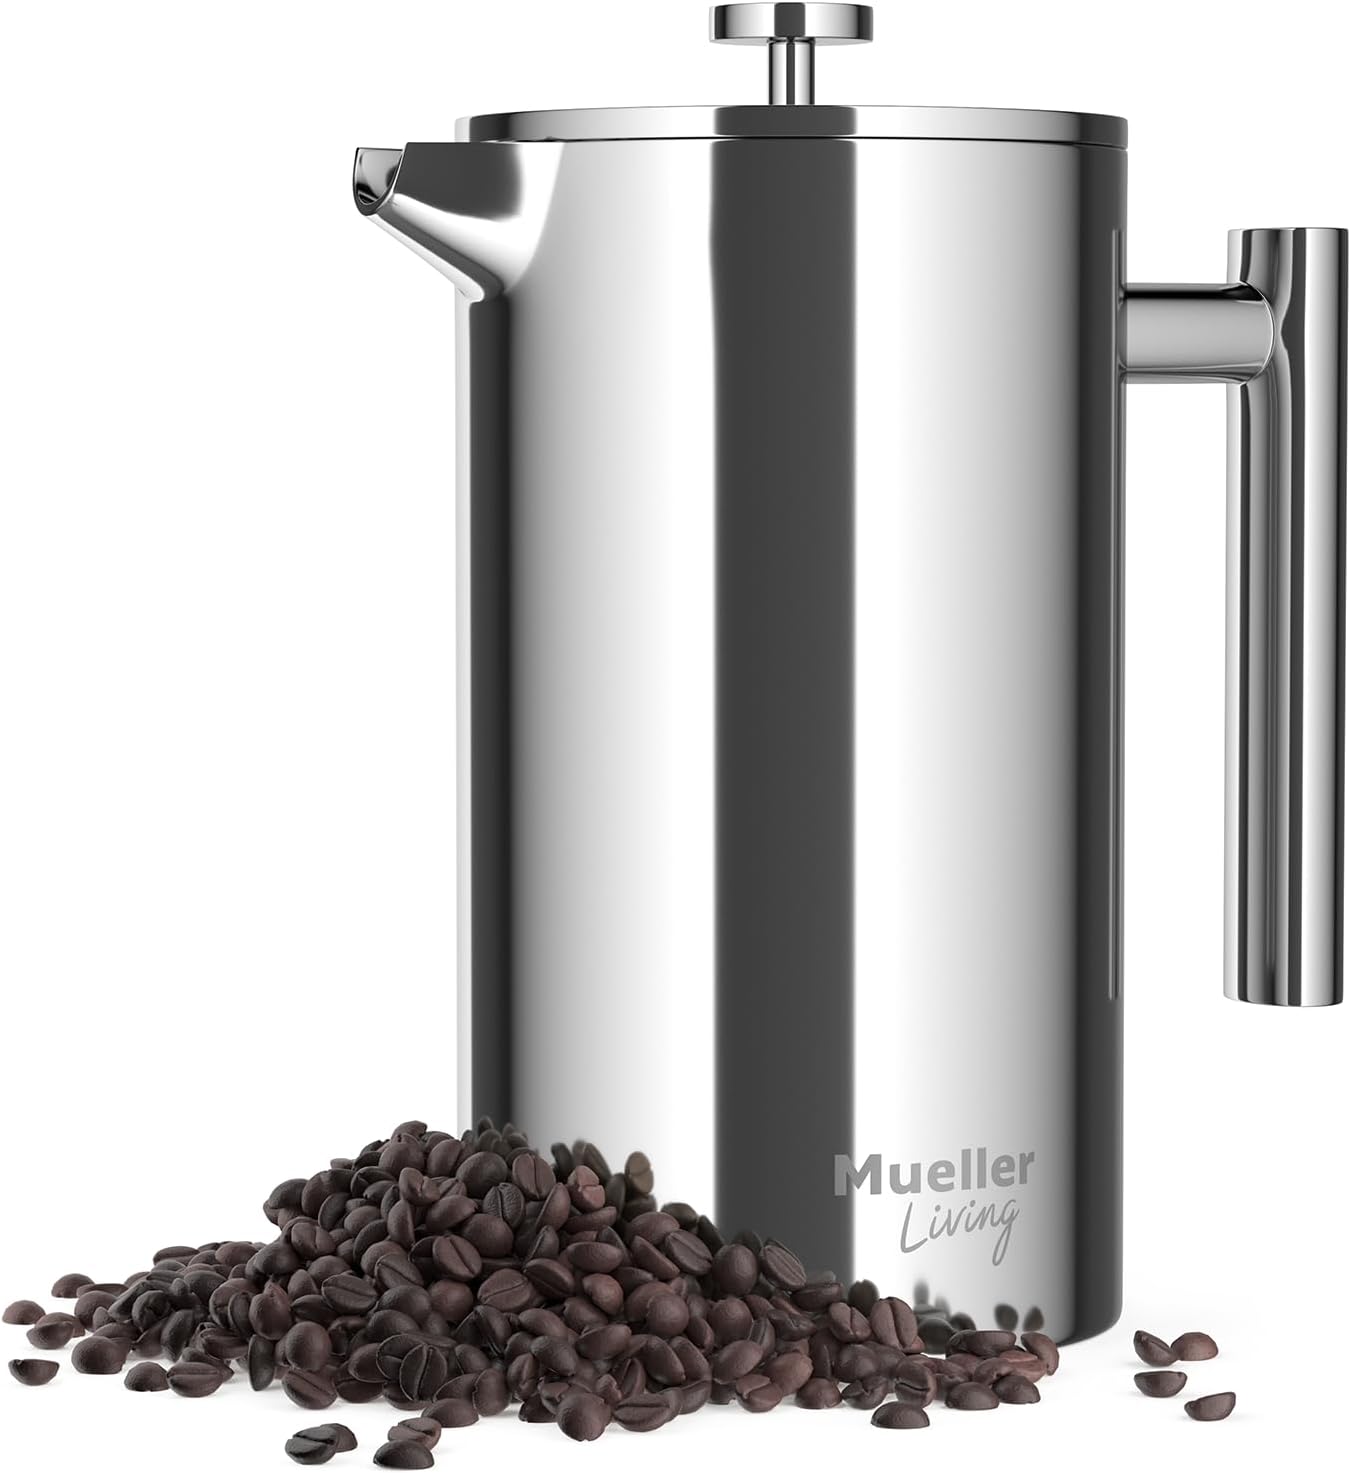
Quick answer: Our top pick in 2026 is the MuellerLiving French Press Coffee Maker 34oz — our #1 rated choice. See the full ranked comparison, alternatives and buying advice below.
Quick Comparison
| Product | Brand | Price | Rating |
|---|---|---|---|
| MuellerLiving French Press Coffee Maker 34oz | Mueller | $54.99 | 4.7/5 |
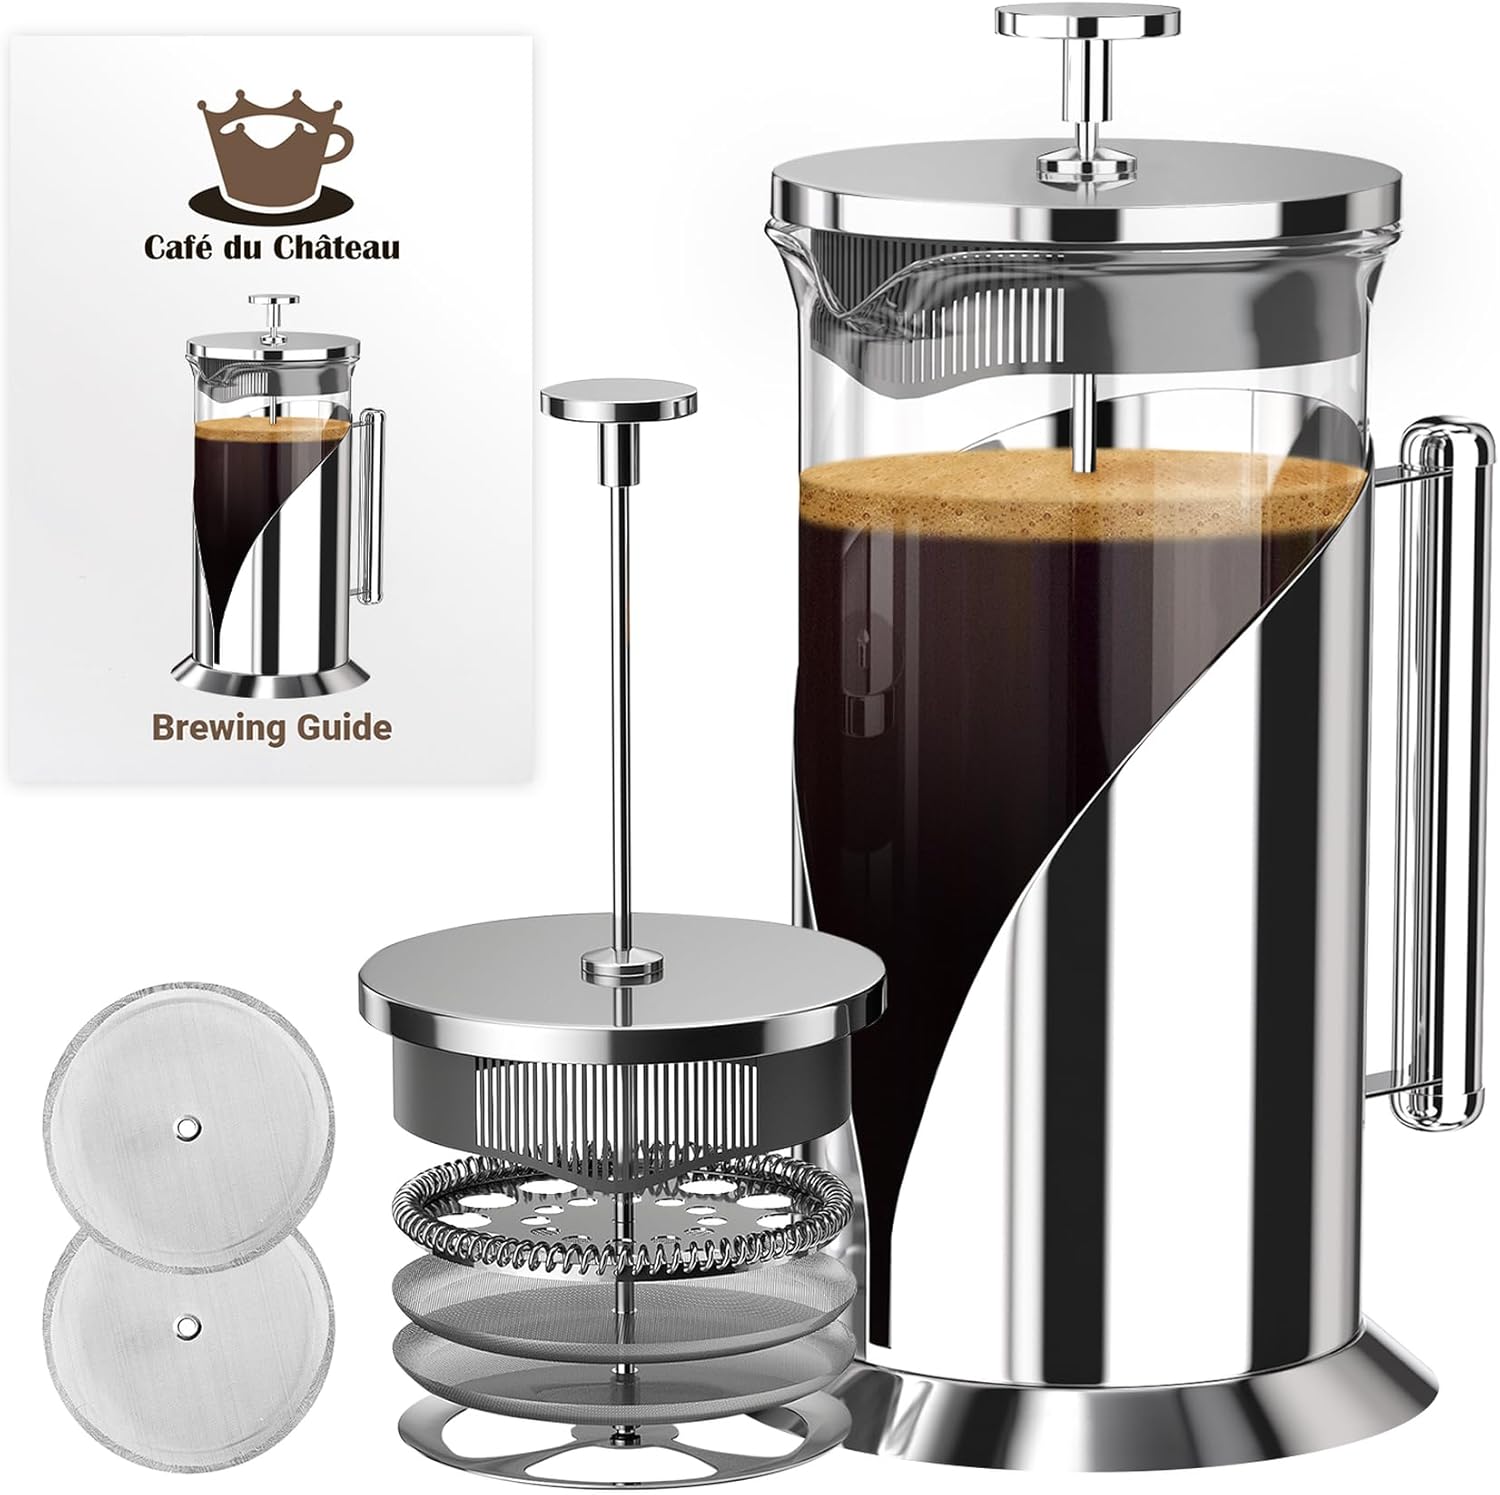
| Cafe Du Chateau Stainless Steel French Press Coffee Mak… | CafeDuChateau | $37.96 | 4.5/5 |
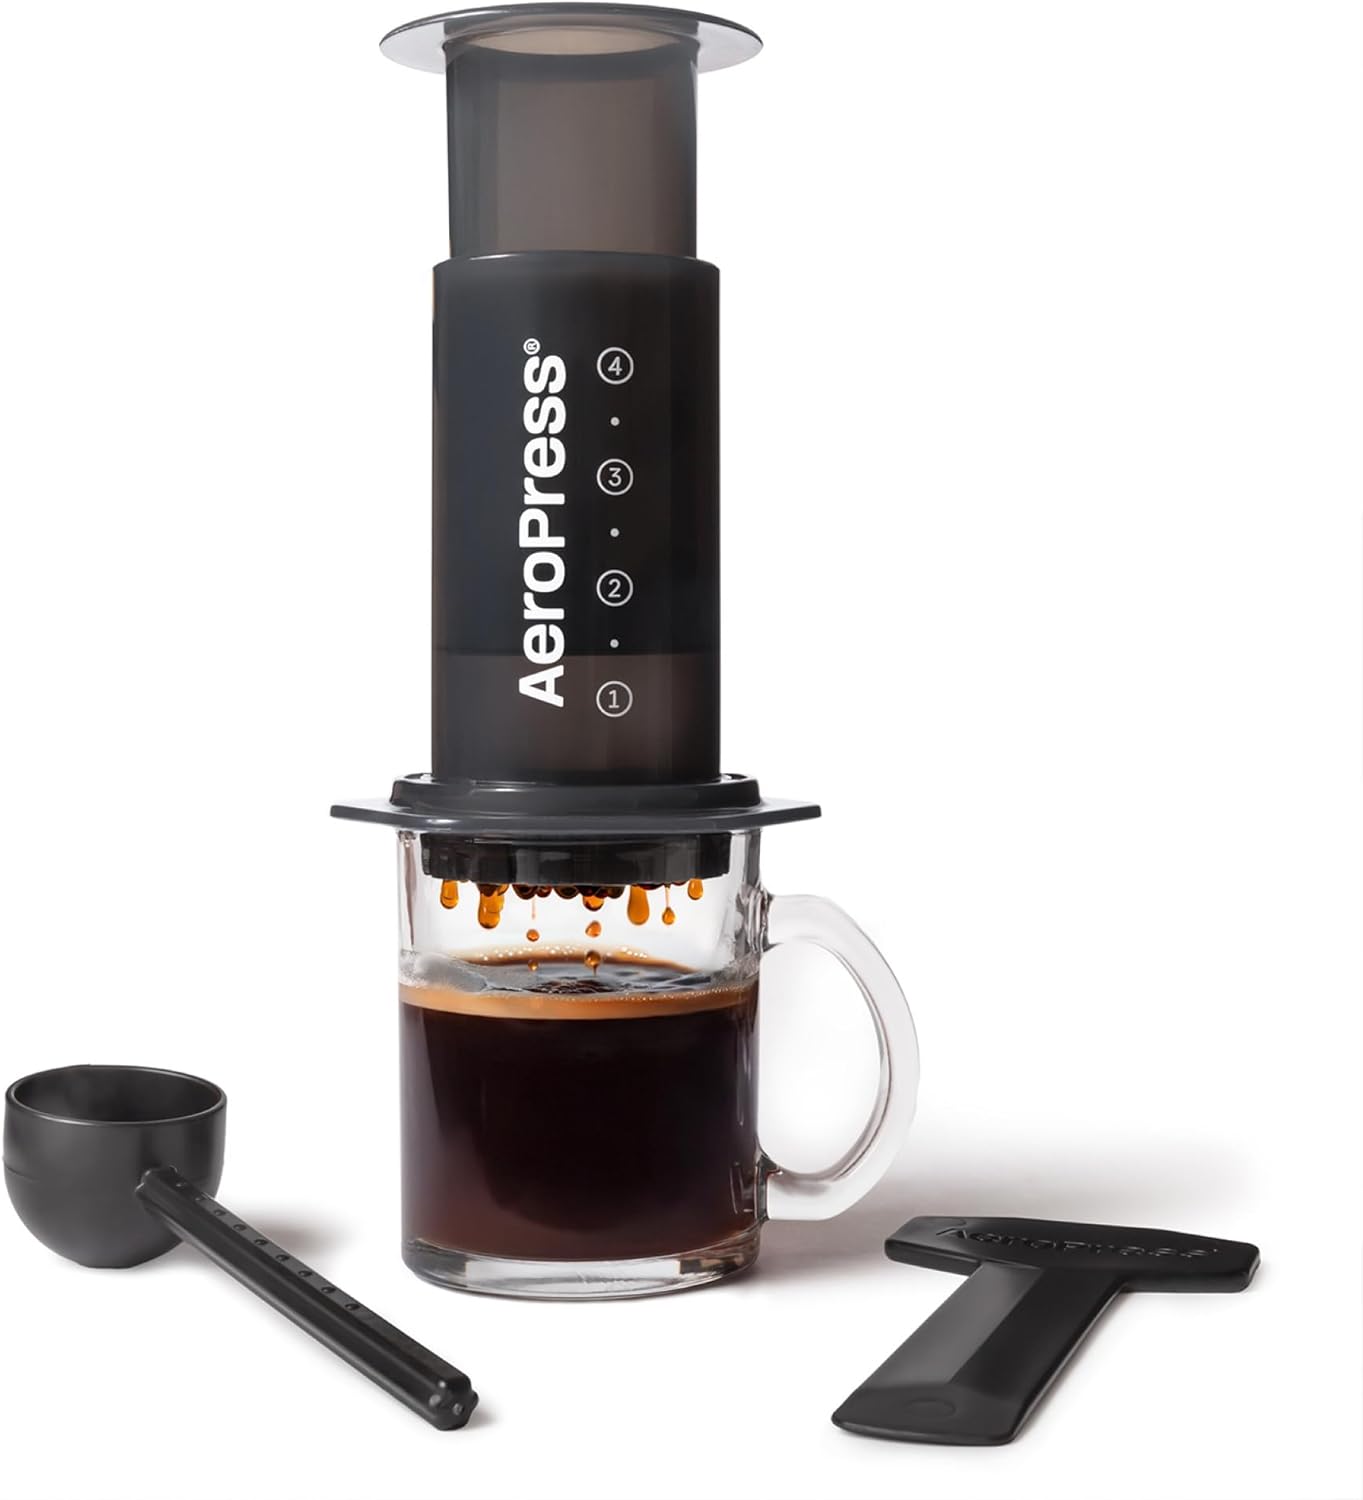
| AeroPress Original Coffee Press – All-in-One French Pre… | AeroPress | $34.96 | 4.6/5 |
| AeroPress Clear Coffee Press – All-in-One French Press | AeroPress | $39.95 | 4.6/5 |
| AeroPress Original XL Coffee Press | AeroPress | $63.95 | 4.6/5 |
Quick Picks
See also: How to Choose an Espresso Tamper: Complete Buying Guide (2026) • Best Espresso Machines for Lattes and Cappuccinos
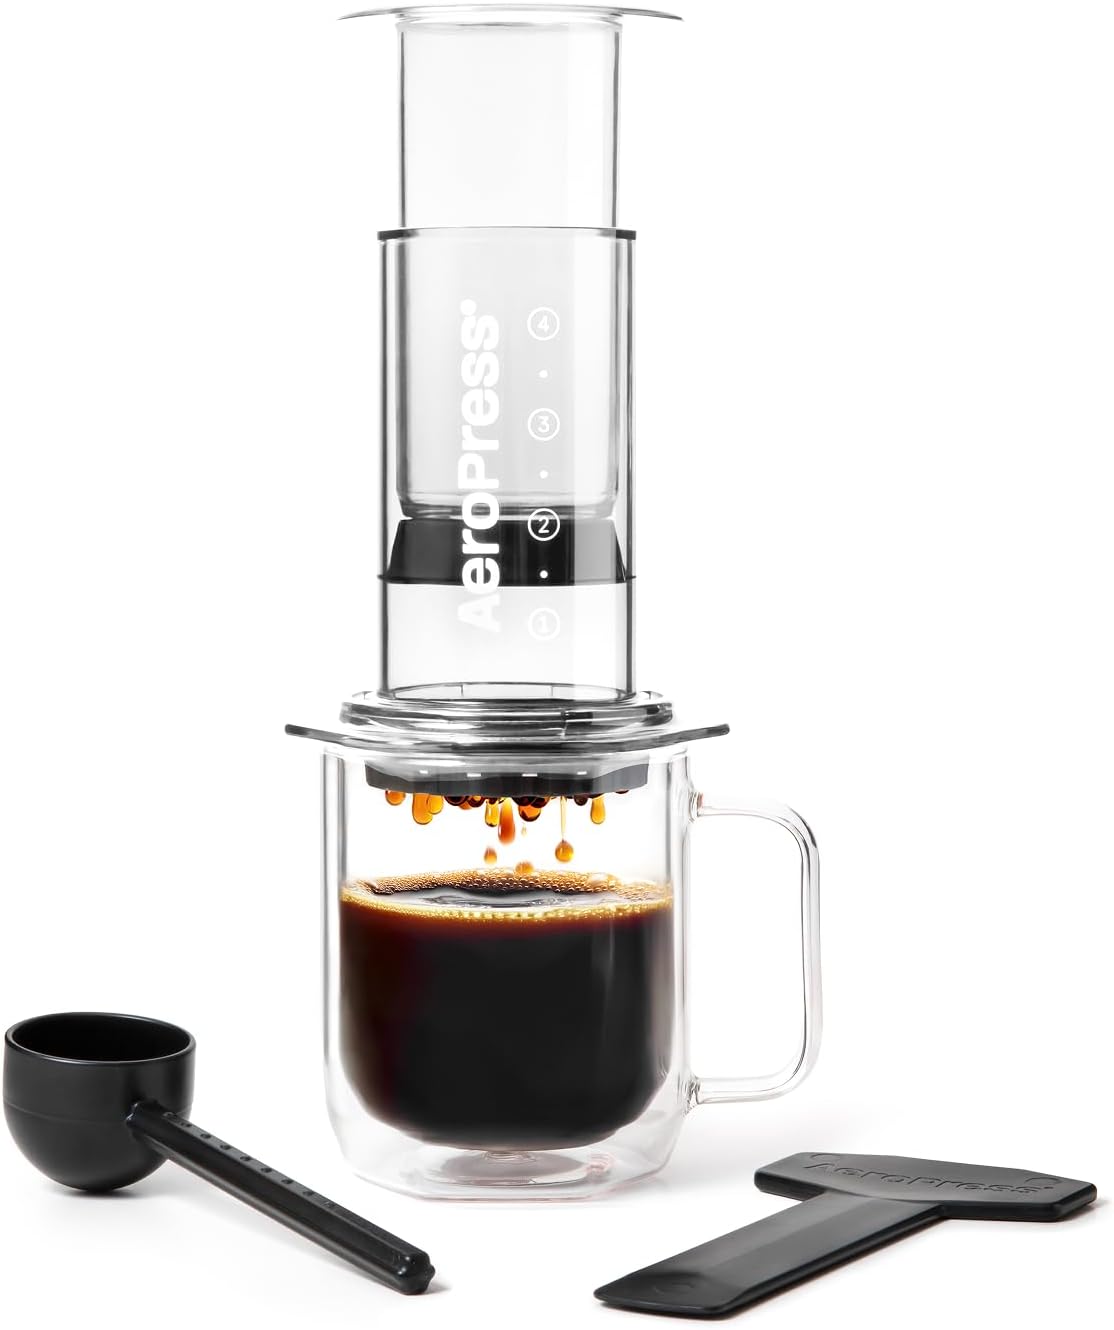
AeroPress Clear
- Tritan plastic — virtually unbreakable, BPA-free
- Transparent body lets you watch extraction in real time
- 350 paper filters included, fits all AeroPress accessories
AeroPress Go Travel Coffee Press
- Compact mug doubles as carrying case
- Designed specifically for travel — fits in a daypack
- Same brewing mechanism as original AeroPress
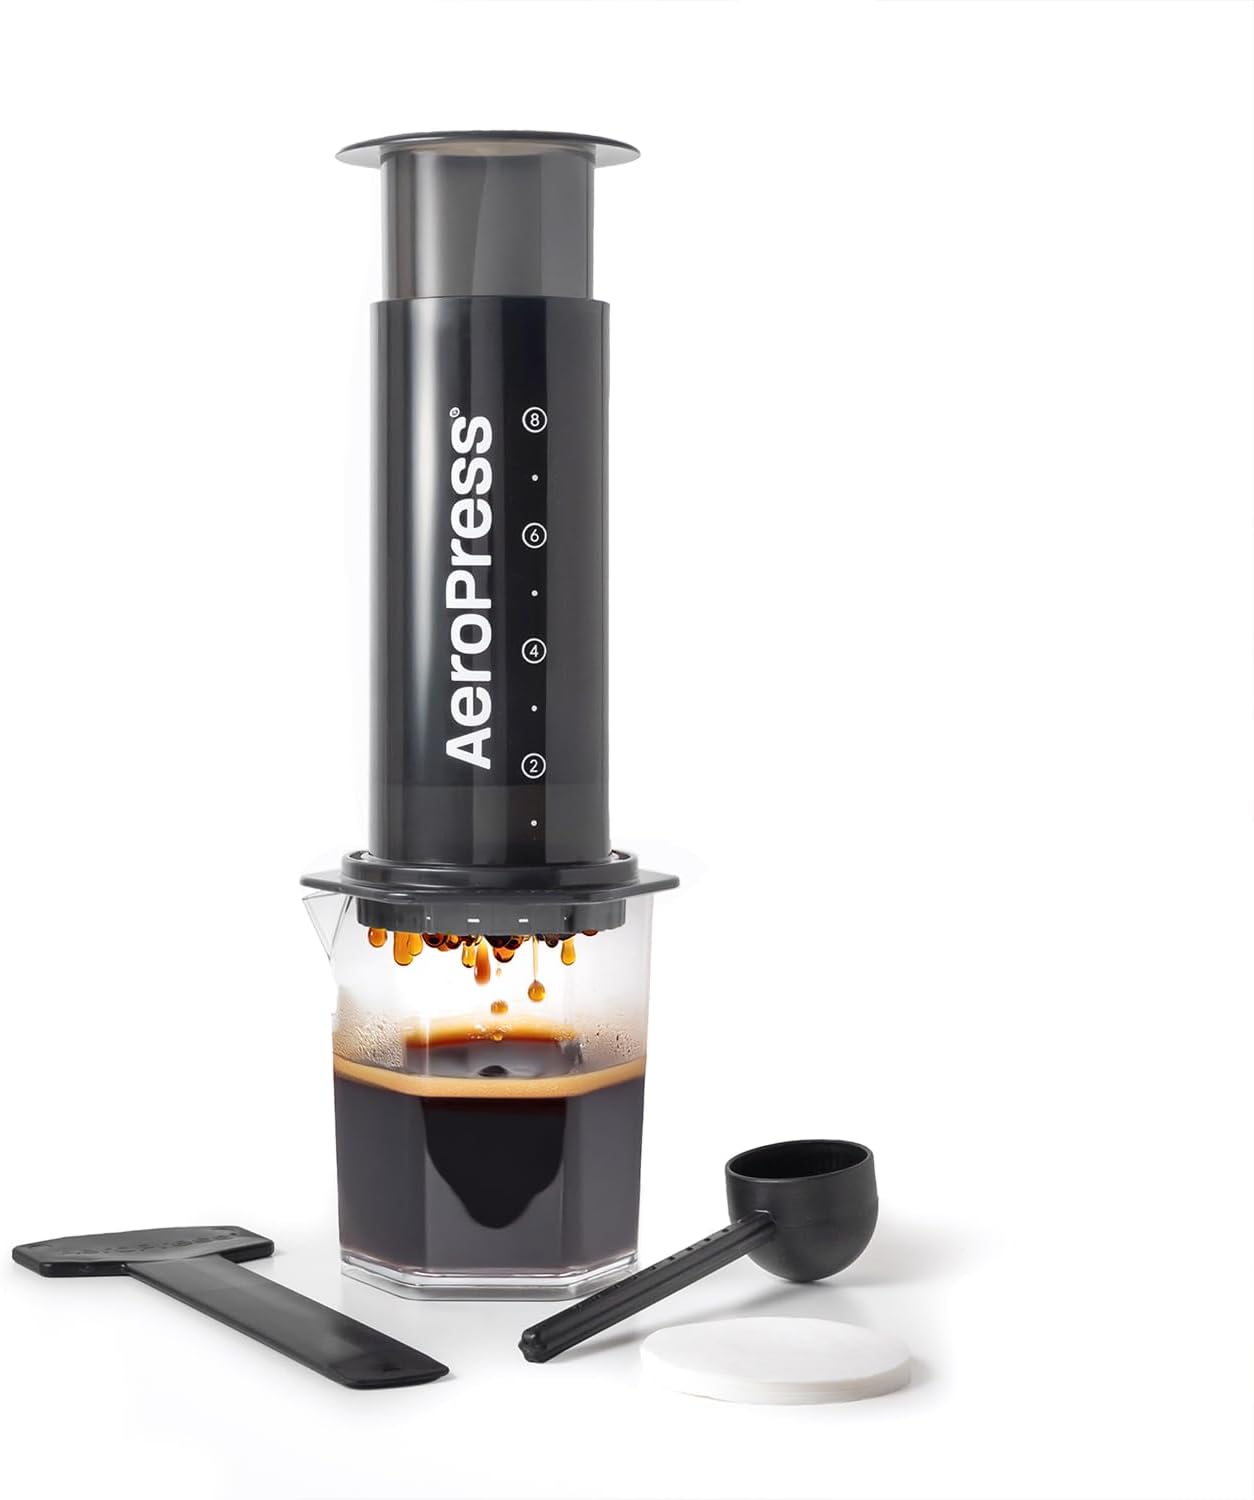
AeroPress Original (Classic)
- The original design — proven across 20 years
- Lowest price entry point for the system
- Compatible with entire AeroPress accessory ecosystem
Why Trust Our Picks
Our team has traveled with AeroPress brewers across hotel rooms in Southeast Asia, mountain huts in the Alps, and conference hotel suites where the in-room coffee is uniformly terrible. We’ve brewed with the original, the Go, and the Clear across a range of water temperatures and coffee types — from pre-ground supermarket beans to freshly roasted single origins — and evaluated the accessory ecosystem extensively, particularly reusable metal filters and flow-control caps that have expanded the brewer’s versatility.
Individual Reviews
AeroPress Clear — Best Overall
The AeroPress Clear is the most recent addition to the lineup — and the most refined version of the original design. The Tritan plastic is crystal clear (allowing you to monitor extraction visually in a way the original opaque AeroPress never permitted), genuinely unbreakable under normal use, and completely BPA-free. The transparent body has proven particularly useful for recipe development: you can see the slurry consistency, watch the plunge progress, and immediately identify if something looks wrong with the grind or ratio. For home use at a counter or table, this is the version to buy. It ships with 350 paper filters and accepts all existing AeroPress accessories without modification.
- Pros: transparent Tritan plastic, visual extraction monitoring, 350 filters included, full accessory compatibility, BPA-free
- Cons: slightly larger footprint than the AeroPress Go, premium price over the original
AeroPress Go Travel Coffee Press — Runner-Up
The AeroPress Go was designed with a specific brief: create a version that packs into a mug the size of a large travel cup. The result is a slightly shorter chamber (limiting maximum capacity to about 8 oz per brew) that collapses into a lidded mug for travel. The mug itself is useful as a travel cup — it’s leak-resistant and holds 15 oz — and the entire setup fits into the smallest compartment of most daypacks. For frequent travelers who want café-quality coffee in hotel rooms without checking a bag: this is the tool. The brewing mechanism is identical to the original; you sacrifice only brew volume versus the standard AeroPress.
- Pros: packs into included mug, ultracompact for travel, same brewing mechanism as original, mug doubles as serving vessel
- Cons: smaller brew capacity than original, mug quality is functional rather than premium
AeroPress Original (Classic) — Best Budget
The original AeroPress remains the least expensive entry point to the system — and given that the brewing mechanism hasn’t changed since 2005, it’s fully compatible with every accessory, recipe, and technique developed over the past two decades. The opaque black plastic is slightly less satisfying than the Clear’s transparency, but it’s equally durable and serves the same brewing function. For anyone who’s unsure whether they’ll integrate AeroPress into their routine, this is the right starting choice: low risk, high upside, and immediately upgradeable with a $10 metal filter.
- Pros: lowest entry price, proven design, full accessory compatibility, widely available
- Cons: opaque plastic obscures extraction, older design lacks some ergonomic refinements of newer versions
Fellow Prismo Attachment — Essential Accessory
Fellow’s Prismo is the most impactful AeroPress accessory available — a pressure-actuated valve that replaces the standard AeroPress filter cap and enables two new brewing capabilities. First: no-drip inverted brewing (the Prismo holds liquid in the chamber until you press, eliminating the need to flip the AeroPress while full of hot coffee). Second: the included metal filter plus the pressure valve create a pseudo-espresso extraction — more concentrated, with a richer texture than standard AeroPress paper filter results. It’s the closest home approximation of espresso available outside a $400+ machine. The metal filter also eliminates paper filter cost and waste.
- Pros: no-drip inverted brewing, espresso-style concentration possible, metal filter included, eliminates paper filter waste
- Cons: premium accessory price, learning curve for pressure valve technique, metal filter allows more sediment than paper
Buyer’s Guide: Getting the Most from an AeroPress
Paper vs. metal filters. The included paper filters produce a clean, bright cup with no sediment — similar to pour-over coffee. Metal reusable filters (Fellow Prismo, Able Disk) allow coffee oils through, producing a heavier body and slightly more sediment — similar to French press but cleaner. Most AeroPress enthusiasts own both and choose based on the coffee and desired result.
Inverted vs. standard brewing. Standard method: cap goes on first, then coffee and water are added, then plunged. Inverted method: AeroPress stands upside-down during steep, then is flipped onto a cup before plunging. Inverted allows longer steep times without dripping — useful for longer extraction recipes. Either method produces excellent coffee; inverted requires more coordination.
Water temperature flexibility. Unlike espresso or pour-over, AeroPress works excellently across a wide temperature range — from 175°F (lighter, more tea-like extractions) to 205°F (fuller, more robust). Hotter water extracts faster and more completely; cooler water extracts more selectively. Experimenting with temperature is one of the most accessible AeroPress variables.
The World AeroPress Championship recipe bank. WAC publishes winning recipes from every annual championship — these are freely available online and represent the most thoroughly tested AeroPress techniques in existence. Starting with a championship recipe (rather than the included instructions) dramatically shortens the learning curve.
FAQ
How does AeroPress compare to French press?
AeroPress brews faster (1–2 minutes vs. 4 minutes), produces less sediment (the plunger filter removes more fine particles than a French press screen), and allows more recipe flexibility. French press produces more body. Most home brewers who try AeroPress keep both for different moods and coffee types.
Can AeroPress make real espresso?
No — true espresso requires 9 bars of pressure, which an AeroPress cannot generate. It can produce a concentrated, espresso-style brew (particularly with the Fellow Prismo attachment) that works well for Americanos and milk drinks, but the texture and crema of true espresso are not replicable.
How long do AeroPress rubber seals last?
The plunger seal (the rubber gasket at the bottom of the plunger) typically lasts 2–3 years with daily use before showing wear. Replacement seals are inexpensive and widely available — or the entire AeroPress can be replaced for under $40.
What grind size should I use for AeroPress?
Medium-fine is the standard starting point — finer than drip coffee, coarser than espresso, roughly the texture of table salt. Adjust finer for more extraction (longer steep times, cooler water) or coarser for faster recipes. The AeroPress is forgiving of grind variation compared to more demanding methods.
Is the AeroPress Go worth it over the original for travel?
If you travel frequently and want the most compact possible setup, yes — the integrated mug-as-case design is genuinely more practical than packing the original AeroPress’s separate pieces. If you only occasionally travel with your brewer, the original packs down reasonably well in a quart-size bag.
Final Verdict
The AeroPress Clear is the best version of the best portable coffee maker ever designed — the transparent body adds genuine utility for anyone interested in understanding their extraction, and the Tritan durability means you’ll never worry about dropping it. Dedicated travelers should look at the AeroPress Go, where the space savings are real and meaningful. Add a Fellow Prismo to either and you’ve built a home coffee system of remarkable versatility — for less than the price of a single month of daily café visits.
Ready to decide? Our #1 pick for 2026 is the MuellerLiving French Press Coffee Maker 34oz.
Live price & availability on Amazon.